In the first five installments of this series I put together all the pieces of modern scenery that will be used in an upcoming oil refinery encounter and other scenarios in the future. I made warped-but-serviceable roads, an assortment of garbage, and some pipes, utility poles, and elevated walkways. Then I added some jersey barriers and oil drums. Finally, I made a concrete building and some large storage tanks.
Most of these were not quite finished, though – they needed weathering, rust, and some other finishing touches.
The Rustificationing
I had built a lot of big, outdoor metallic pieces, and at this point they were entirely too clean and rust-free. After using a sponge and some silver metallic paint to create a few bare-metal scratches or flaked-off paint on the dumpsters and some of the storage tanks…
…I started looking around at methods for applying rust effects and found a number of variations.
“Chipping”, which involves covering a brown undercoat with hair spray, then coating with and outer color and rubbing it off in places, produces some nice results. But I wanted some texture to my rust, and besides, some of my items were already painted when I found out about the technique.
Other examples showed a rusty look created by stippling of rust-colored paints onto the affected surfaces. This one was relatively straightforward, but still lacked the texture I wanted.
Finally, I found some textured rust looks created using relatively expensive textured paints typically reserved for miniature basing. I had a fair amount of surface to cover, and I didn’t want to spend a lot to go down this route.
What I ended up doing was a hybrid solution: I started with dark brown craft paint, poured in a bunch of baking soda, and stirred it thoroughly until I had a grainy brown slurry. This was dabbed liberally onto just about every available metallic surface. I added a good bit of orange paint and more baking soda to the mix, then went over the parts again – a little more lightly this time – with the lighter shade. A final, even-more-orange application finished off the rusty look.
In retrospect I probably overdid the rust in places, and should have used a variety of brush sizes to stipple it on, but overall I’m pleased with the results.
With the rust dried, I used black washes on the building and storage tanks, then followed up with trickles of brown wash in spots where it seemed like rainwater would create rust stains. Then the ladder and platform were glued onto the tall tower assembly.
Finally, any bases that still remained bare were soil-and-grouted and given a sprinkle of mixed grass flocking.
A Tar is Born

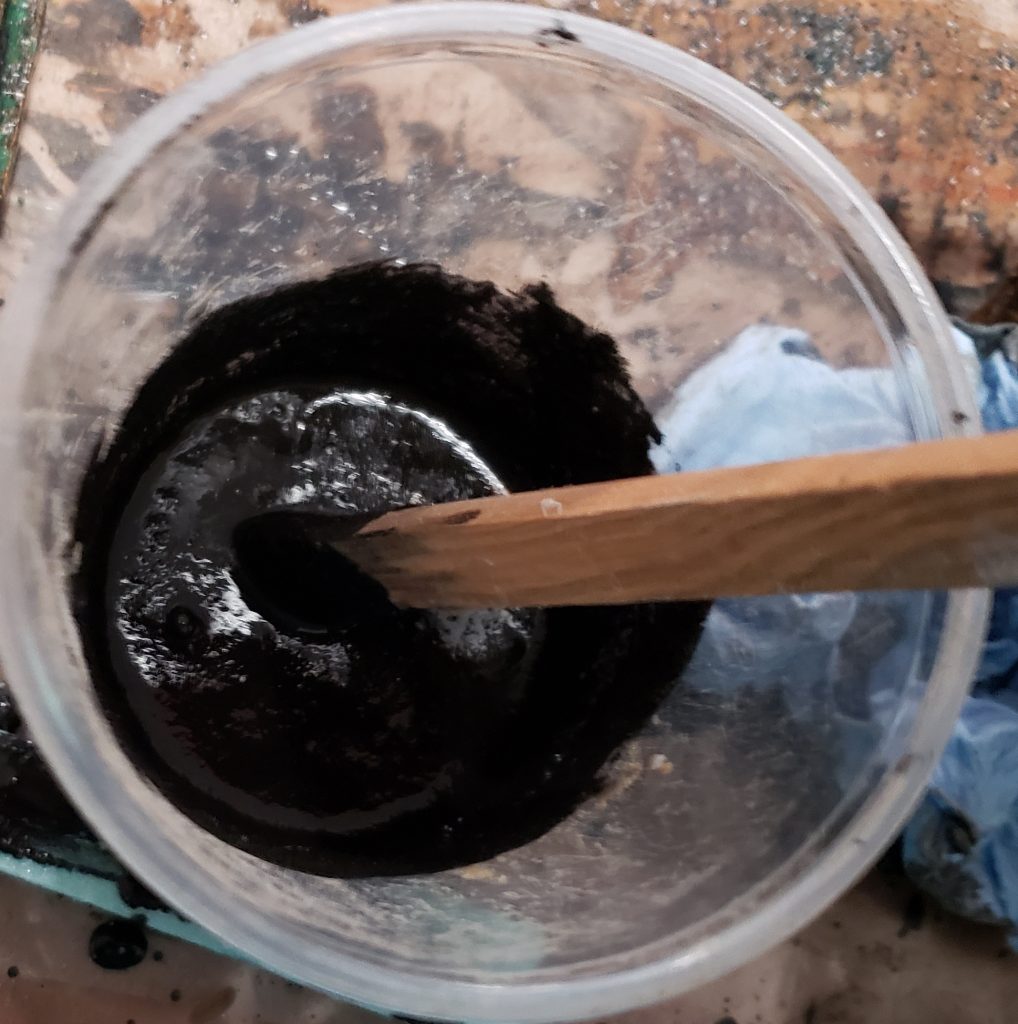
For my one building I wanted to make an industrial looking tar-like rooftop. To do this, I put some tile grout and water into a plastic cup and added a generous amount of black tinted powder of the sort used to color concrete during the mixing process. This made a dark black goo which served as roofing tar to apply to both roof sections of the structure. Once the tar was set I gave it a light dry-brushing with a pale grey.
I also brushed some of the tint powder onto the tops of the smokestacks, giving them a sooty appearance where the smoke would emerge. (I’m still considering spray-painting some cotton and trying to position it to look like actual smoke is being emitted.)
When all the paints and tars and grouts and glues were fully dried, everything got a coat of clear matte spray to seal it all up. Then I started playing around with ways to configure it.
When we get to the encounter in my Mighty Protectors campaign, the layout will probably look something like these pictures, except on a grassy board instead of a dirty crafting table, and not in a messy garage surrounded by other works in progress.
(Yeah, I may need another support or two for the walkways…)


Pingback: Grate Expectations - (Re)Turning (to) the Tables
Pingback: And when that city sank into the swamp, we built another! (Part 1) - (Re)Turning (to) the Tables
Pingback: A Shopping Experience Like No Other - (Re)Turning (to) the Tables