The real world produces trash, and lots of it. The back alleys and industrial areas where some encounters might take place in my modern-era supers campaign would likely be less than pristine in that regard, so it seemed like some mini-garbage scatter would add to the atmosphere there, as well as providing visual cues to objects some of the stronger characters might choose to use as improvised weapons.
“Rusty dumpster” sounds like a sexual metaphor, but please don’t tell me what it means
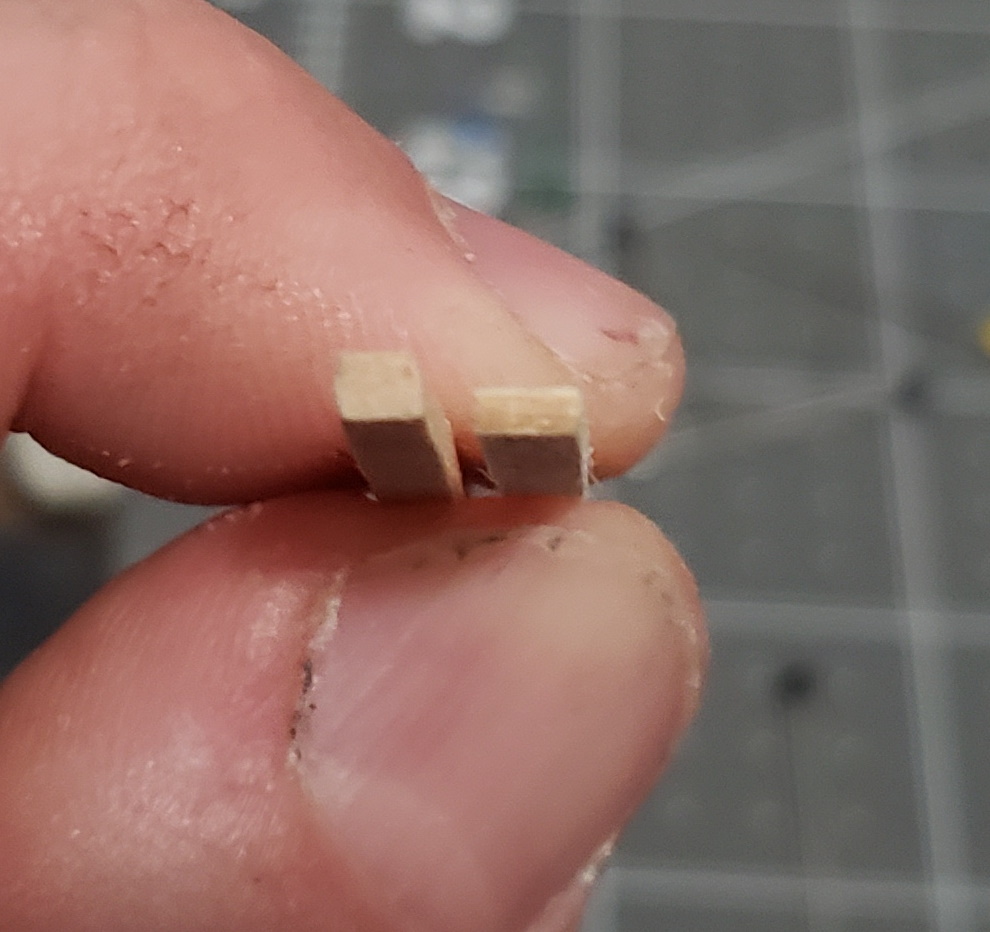
I wanted a couple of simple dumpsters and it seemed like an easy enough project (so “easy enough” that I forgot to take pictures of most of it while it was in progress). Cut some chipboard into two appropriately-sized side pieces with matching downward slopes at the top. then some front and back rectangles, then top and bottom. Some corrugated construction paper for the lid, some cuts of square balsa wood for the handles on the sides. The edges where the chipboard pieces met looked like they needed covering so I cut some strips of paper and glued them in place to cover the existing glue joints.
While the glue dried on a pair of proto-dumpsters, I looked around for examples of how people built and painted their own and ran across this new-at-the-time video from Black Magic Craft . It was kind of reassuring to see that other than some minor differences in size and shape, I had chosen pretty much the same approach thus far as a much more experienced crafter did.
I didn’t have tiny chains or useful stickers around like in the BMC video. Nor did I have hair spray to use for the “chipping” method of creating rust effects, and I had other ideas I wanted to try on that score anyway. But I did steal the idea of using cotton swab shafts to make hinges on the back of the dumpsters.

I gave them a black-and-Mod-Podge coating, though they probably didn’t need it, then covered them in a deep green craft paint.
At this point I had done some experimenting on the side with some rust techniques and had decided on the one I wanted to use. However, lots of the pieces of my modern build would be given the rust treatment and I wanted to do them all at once, so I sat my unweathered units aside for now.
Trash bags from trash bags
Mel the Terrain Tutor’s video on pallets, boxes, and garbage bags served as the inspiration for even more trash.
Mel’s garbage bags were made from plastic bag bits wrapped around individual river stones; I didn’t have any stones of appropriate size and smoothness around, through, and it was too cold and wet to go looking for some near an actual body of water. I debated filling them with sand instead, but ultimately decided to use some little seashell bits I sometimes use for rocks – mainly because they’d be easier to clean up than sand in the event one of the bags broke open. Along with a 56-cent string of embroidery thread and some bits of black plastic bag cut into squares – plus a few drops of super glue to apply at the end – this would be all that was needed.

All that needed to be done was put a small cluster of shell bits into the middle of each “bag”, twist the plastic around it, and tie the thread on.

Finally, I put a little dab of super glue on each knot to both hold the knot itself and hopefully keep it attached to the plastic as well. All that was left was to clip the ends of the threads (which I had apparently not finished before taking the photo below), and I had successfully created bags of garbage.

Cleansing the pallet
Mel’s pallets looked great but they were sized to 1.5 square inches, which seemed large to me. At D&D’s 1 inch = 5 feet scale, they would be 7.5 feet in size. I decided to scale down to 1 inch, meaning a 5 square foot size which seemed closer to the dimensions of most pallets I’ve seen. This also meant finding smaller wood strips than the ones Mel used.
I briefly toyed with the idea of trying to cut some coffee stirrers into narrower strips, but my attempts to test that process did not end well: without much surface area to press down on, the stirrers slid around easily under a straight edge, and my cuts came out crooked and sometimes jagged. I ended up making a craft store run to get appropriate balsa strips for both the thin slats on the top and bottom of the pallets and the more squared support members in the middle. I would have liked to find a slightly thinner strip for the slats, but there wasn’t anything like that in stock so I went with the pieces shown.
Each pallet would require three one-inch pieces of the squared balsa and eight of the flatter strips. I laid out the strips on my crafting mat and just used the 1″ markings on that to freehand cut the pieces I would need with a razor knife. The balsa I’d grabbed would be enough to make nine pallets, which would be plenty unless I ended up wanting a big battle inside a warehouse at some point.

Assembly was relatively simple, and again the grid on my mat was useful. I laid out the three inner beams on the middle and ends of the the printed 1″ squares, then super glued 3 slats in place on top of them. I did have to fiddle with them a bit to get them into place without sticking to my fingers and they ended up less than perfectly parallel, but not so much that it would be a big deal visually at tabletop distance.

When the glue dried on that side, I flipped them over and glued five slats across the tops, again using the grid and dots as guides for the spacing.
I snipped any protruding edges, sanded around the sides a little, and as an afterthought did a little not-too-heavy wire brushing along the grains of the wood to try to punch up the texture a little and scuff them lightly. They were painted with watered-down craft paints; one pallet each in red, blue, and green, and the rest in a golden brown color. The colors got a dry-brushing of light grey and a black wash, while the browns got a tan brushing and a brown wash. I think I ended up doing a little black wash on the brown units as well after seeing the brown didn’t bring out their texture as well as I’d hoped.
Boxing Day, ‘Murkin style
The boxes were an unplanned last-minute addition because, after watching Mel’s video, I noticed my daughter had thrown out an empty box from some frozen taquito things, and figured, “eh, why not?” The cardboard was the perfect thickness.
I only made a few boxes, and (with one exception) I again scaled them down a little. From 1″ squares with 1/2″ flaps I went to 1/2″ square with 1/4″ flaps, but the concepts are the same. The process is probably easier to watch in the video linked above than to explain, but it involves drawing the grids on the cardboard cutting along the lines between the flaps and scoring along the other lines, then folding and gluing.


Batter ’em up a little, paint ’em a medium to light brown with maybe a little wash, and they were done.
And with that, my garbage pile was finished!
