In which I waste a lot of money but at least end up with something useful
I’ve built up a good collection of fantasy terrain, but it’s of limited use in my MIghty Protectors Campaign that takes place in a modern setting and most often occurs in the streets of local towns and cities. I’ve used dungeon tiles to simulate a basement in New Jersey, I’ve built something that looks like a pile of alien poo to serve as a big biotech power generator, and of course there’s my big refinery build which produced a lot of modern bits which are useful in the right situations.
But I’d really been wanting to build something flexible that could frequently be used in my main campaign and possibly some one-shots I’m still hoping to run at a local game shop once the world is significantly less plague-infested. A while back I’d seen one of Mel the Terrain Tutor’s videos about making modular urban boards for wargaming, and these seemed like a good place to start.
In looking into other ideas for this kind of layout I also ran across a video by someone who started from Mel’s process but made use of magnets inserted under some sections of the foam that make up the sidewalk areas, allowing for positioning of scatter bits that won’t easily move around or fall over. I liked this concept, but slicing into the foam and stuffing magnets under it seemed like a recipe for damaging almost-finished terrain. Besides that, confining the magnetized area to only a few small spots seemed rather limiting.
I wanted to magnetize the whole surface! I already had a small collection of little rare-earth magnets I’d picked up a while back, which I could embed in the scatter pieces. I thought about lining under the roads and foam with some sheet metal; a small piece under a bit of scrap foam could provide a test-bed for whether my magnets would adhere through it. I didn’t get to that point, though, because I don’t have access to the right tools to work with that material and there would be a potential danger of sharp edges becoming exposed.
I took a chance (to the tune of about $40) and ordered a sheet of magnetized material of the sort that is used to make signs to stick on the sides of cars. By sliding a piece of this material around under a piece of foamcore, I was able to slide a magnet around on top of it… seemingly (dun dun duuuunnnn…) a successful experiment!
WTFMDF
The table I most often game on is a square just slightly under 40 inches. I figured a set of 18″x18″ tiles would work well, so I could set up four of them at once with a little bit of buffer around the edges. I wanted to make six tiles, though – four of the type shown in Mel’s video above with roads on two sides, and two more with roads only along one edge. Even though I don’t currently have space to set up all six sections, having the extra variety would give me more flexibility in layouts.
Off to the local Home Despot to look for some sturdy MDF board to build on! I was in luck – they not only had 2′ x 4′ sheets of it in stock, but I’d arrived on a day when someone hadn’t hung an “out of order” sign on their big saw. A few 18″ cuts later and… well… I had a cart full of MDF boards, none of which were actually 18×18. The sizes of the boards as cut varied by up to about 3/4″, and not even a single pair of them could be laid together without looking noticeable different in length and width.
The Home Despot saw, it seems, just wasn’t going to… er… cut it.
Cutting the boards myself with hand tools or even hand-held power tools would result in a street layout that might resemble a scene from the Doctor Strange movie. I didn’t own a table saw or other device to use in making relatively precise rip cuts and none of my local friends had anything functional that I could use either. My garage overfloweth already and as much as I’ve been wanting to own a table saw for a while, I had trouble justifying the cost and the space it would take up.
Since there are a lot of hobbyists making wargaming boards using MDF, I figured pre-cut sheets of it in various sizes could be purchased online. I was right… but almost all of it was from outlets in Europe, with the associated shipping costs and delays. The closest thing I could find from a US shipper were 24″ squares. They were larger than I wanted and my city would hang over the table into the abyss by a few inches on every side, but this was a compromise I was willing to make.
When they arrived and I started to mark up roughly where the sign material would have to be cut to fit, I realized that because I’d up-sized the tiles, I’d also need to order another magnetic sheet. Still, I had enough to get started, so the next step was to find something to glue the two materials together.
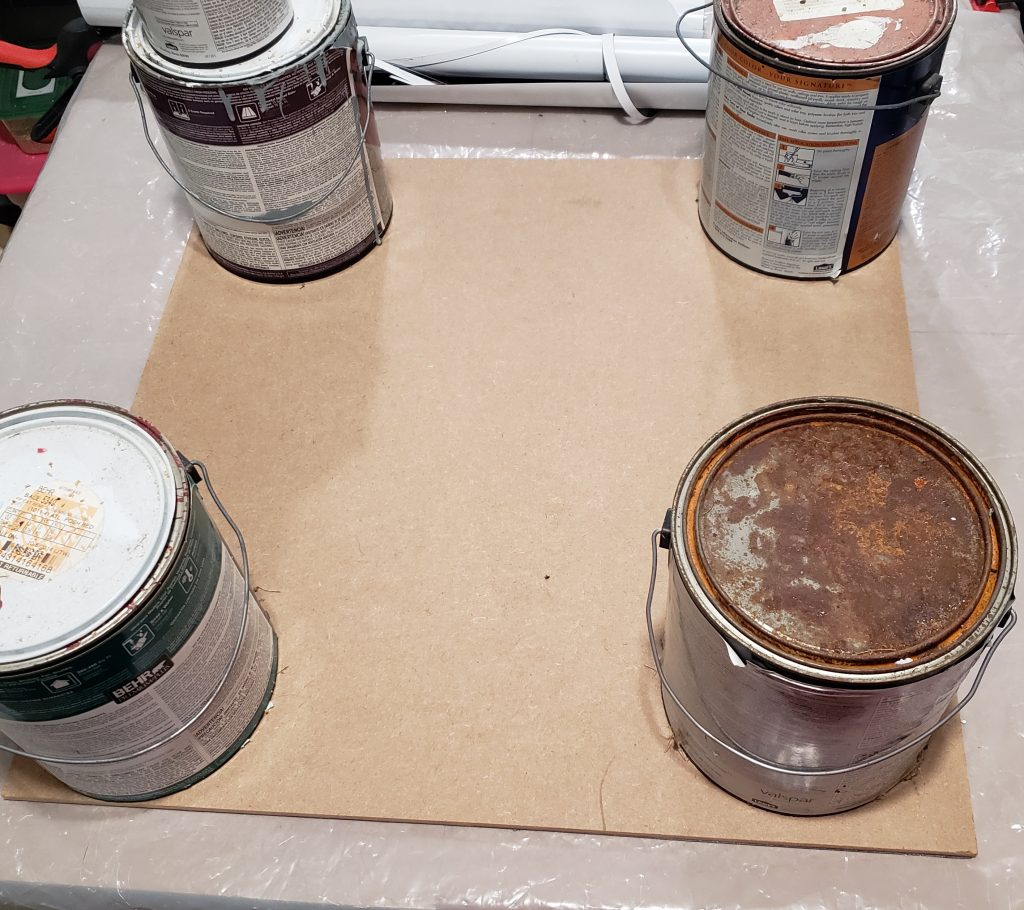
I sprayed some 3M Super 77 adhesive on a piece of the magnetic sheet and a piece of MDF, stuck them together, and left them to set for 24 hours. The result: adhesion! I could pull them apart with some effort, but I deemed the connection strong enough to resist normal wear and tear. Another seemingly (dun dun duuunnnn agaaaaain!) successful experiment!
So after weeks of MDF-hunting and waiting for deliveries, I could finally start actually building something. Much Super 77 was sprayed and much MDF was joined to magnetic sheets and left to cure overnight with weights on the assembly. More magnet-MDF fusion was completed when the rest of the magnet material arrived.
Built by low-bid contractors
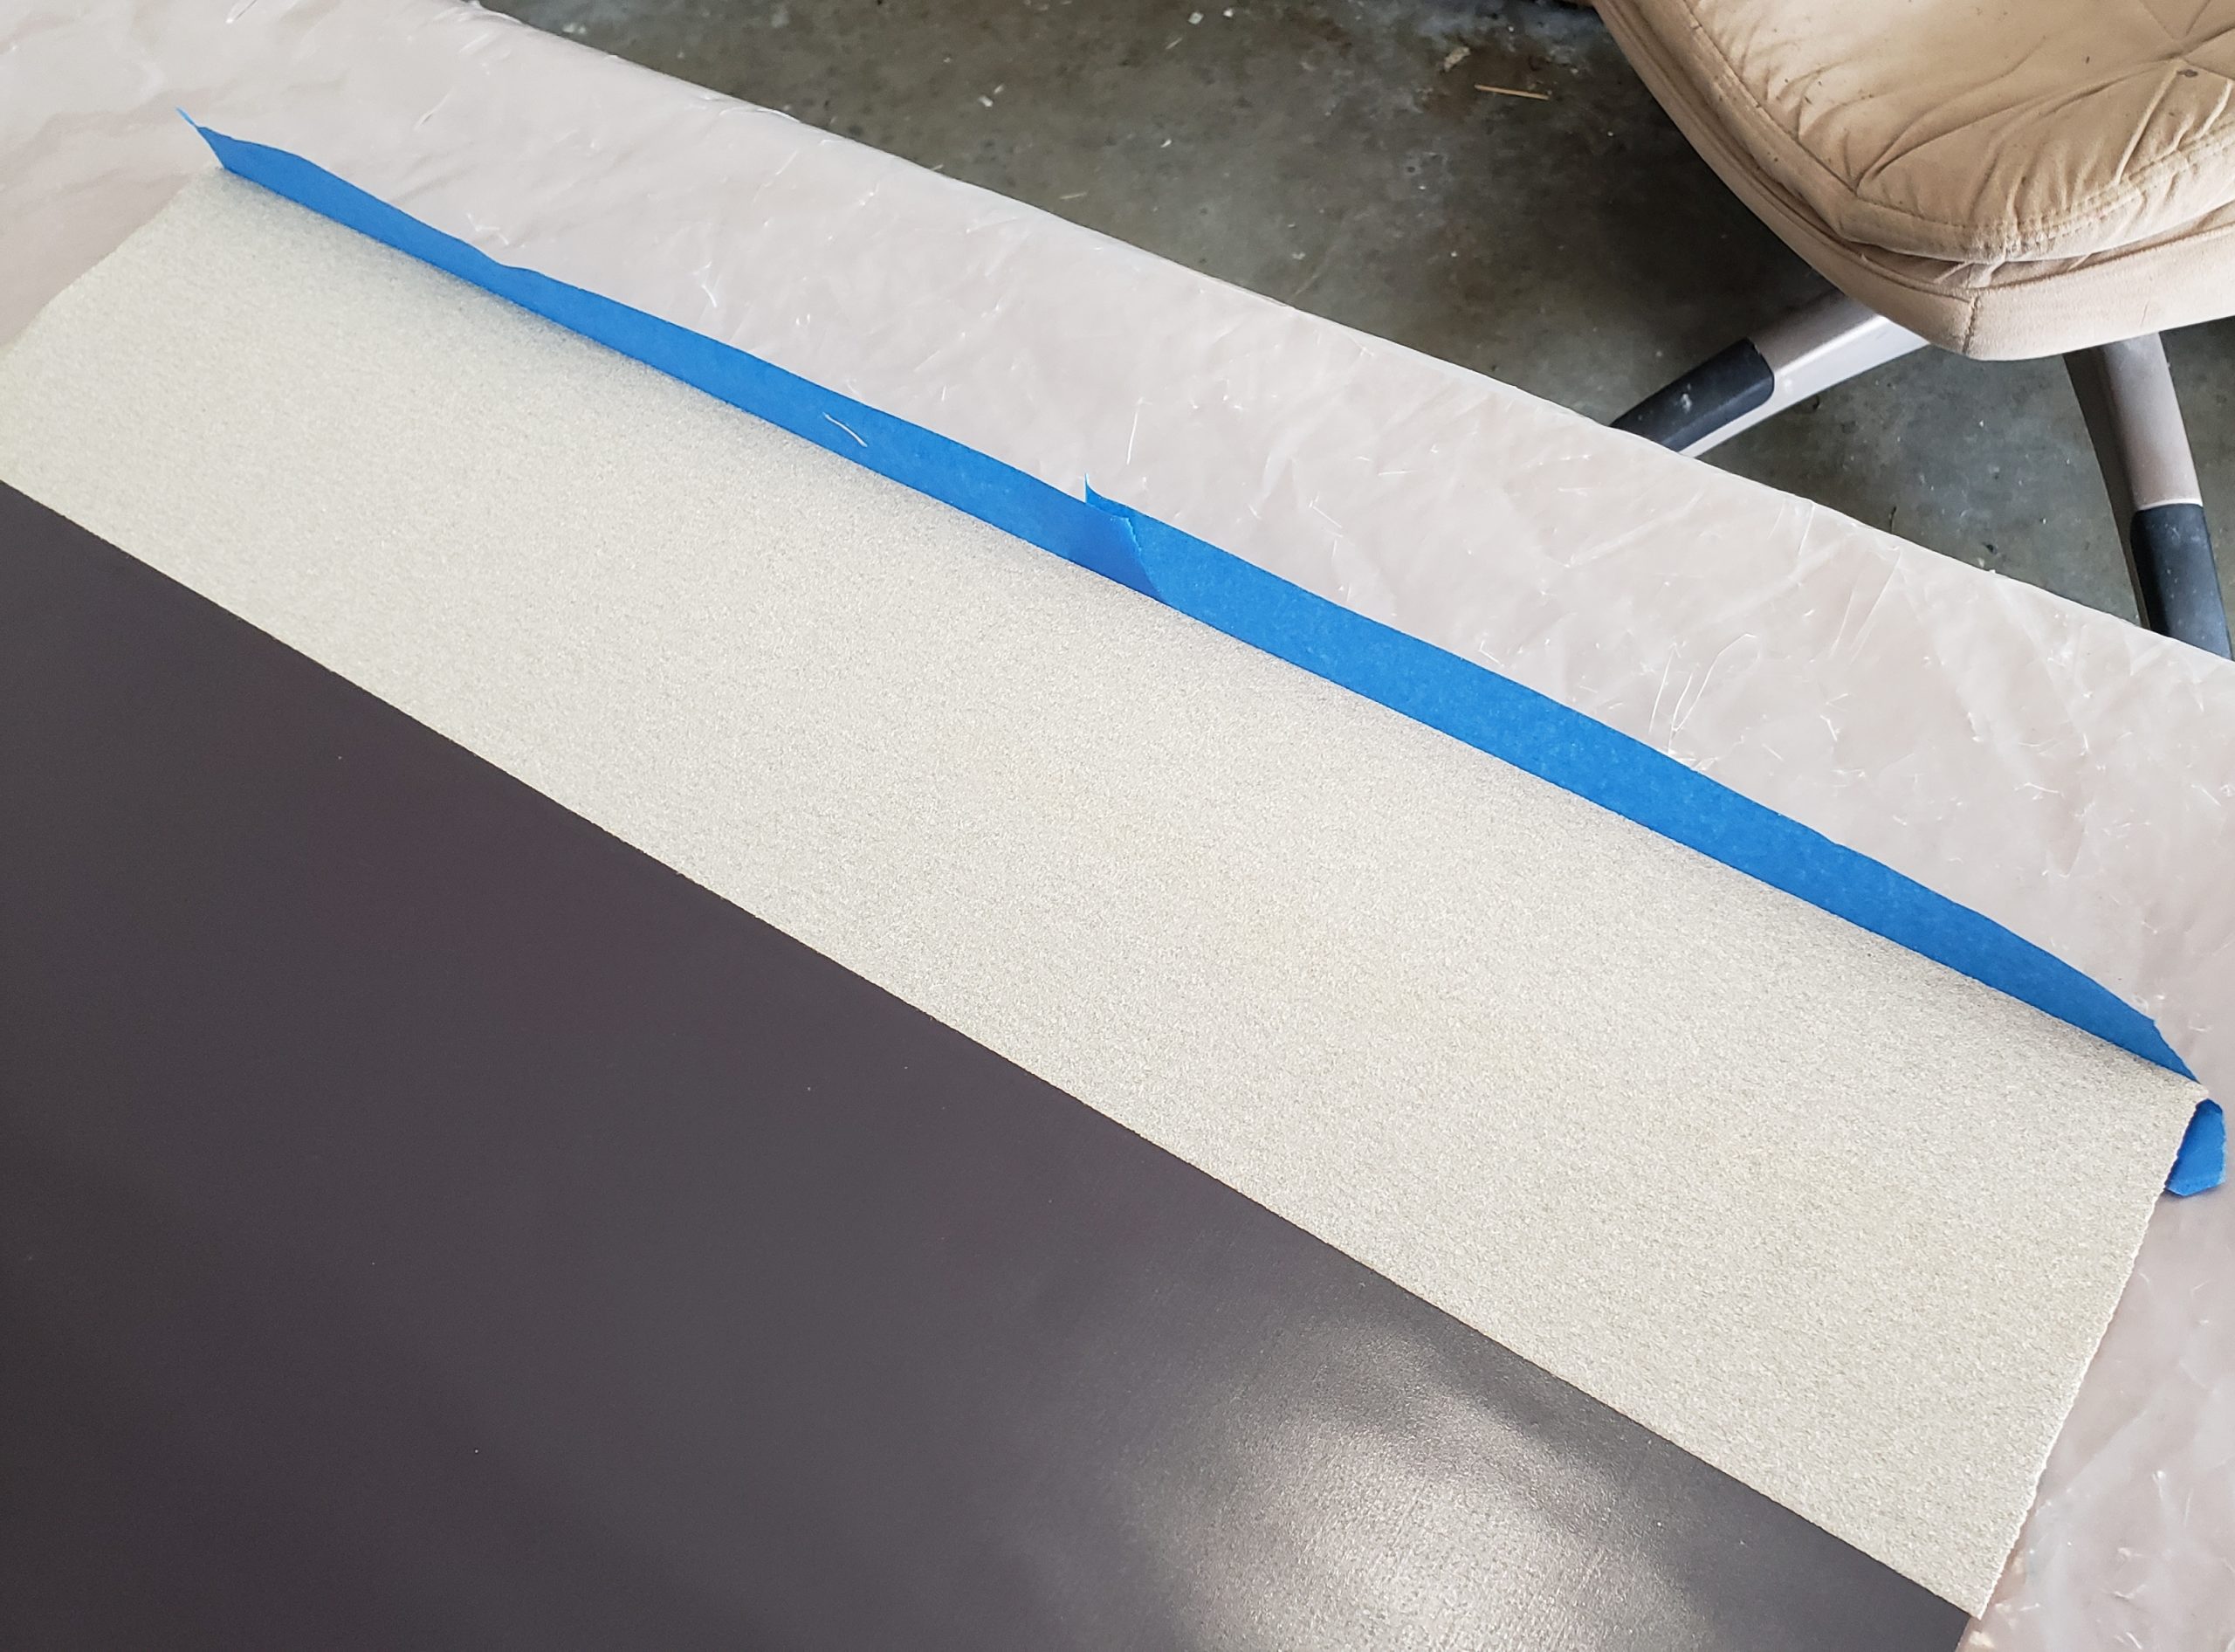
To make textured roads, I cut strips of a 4.5″ wide 80-grit sandpaper roll (paid link) and used the same spray to attach them to the appropriate edges of the magnetized surface on each board. These surfaces were painted with the same folk art “Pavement” color I’ve used in a few other builds.
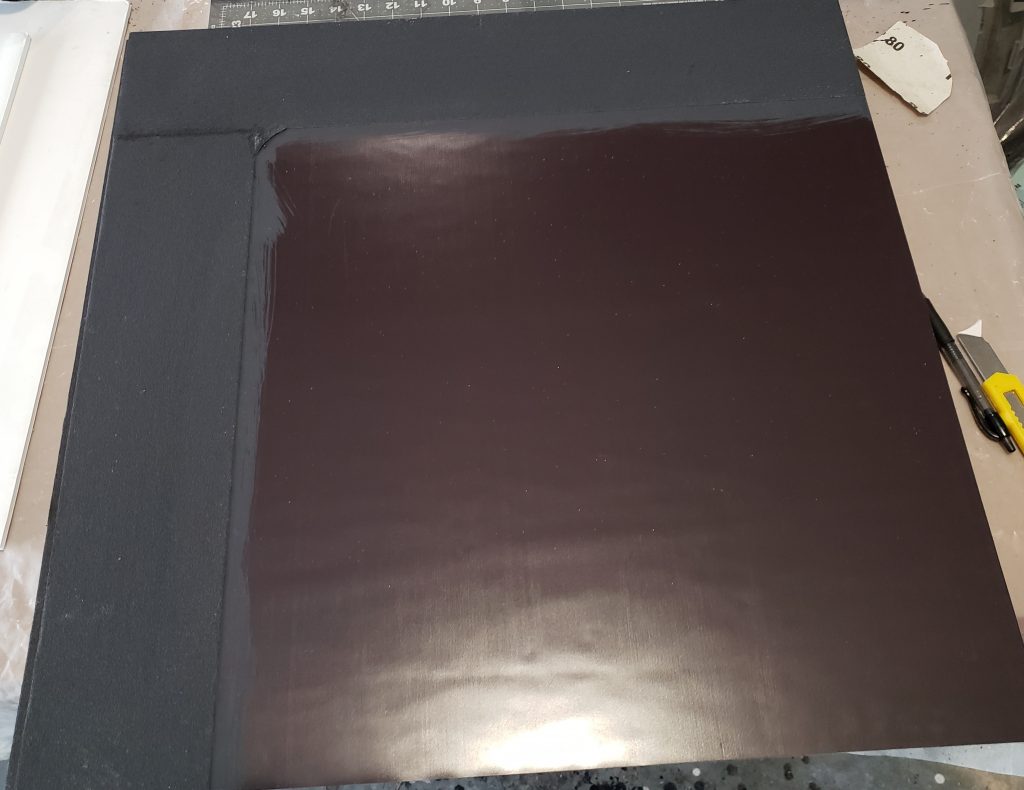
The next step was to make the sidewalks and the areas where the (eventual) buildings would be placed. For these I cut pieces of foamcore (the slightly pricier Elmer’s variety with the sturdier paper lining, rather than the dollar-store ones I usually use). Sidewalks were drawn on with a pen and a ruler, pressing hard enough to leave an impression but not so hard as to break through the paper. Many of the sidewalks on the main street in Middletown are lined with bricks and I wanted to capture a little of that feel without going overboard, so I drew in some brick patterns in a few areas as well – not even remotely to scale, but it would convey the right feel.
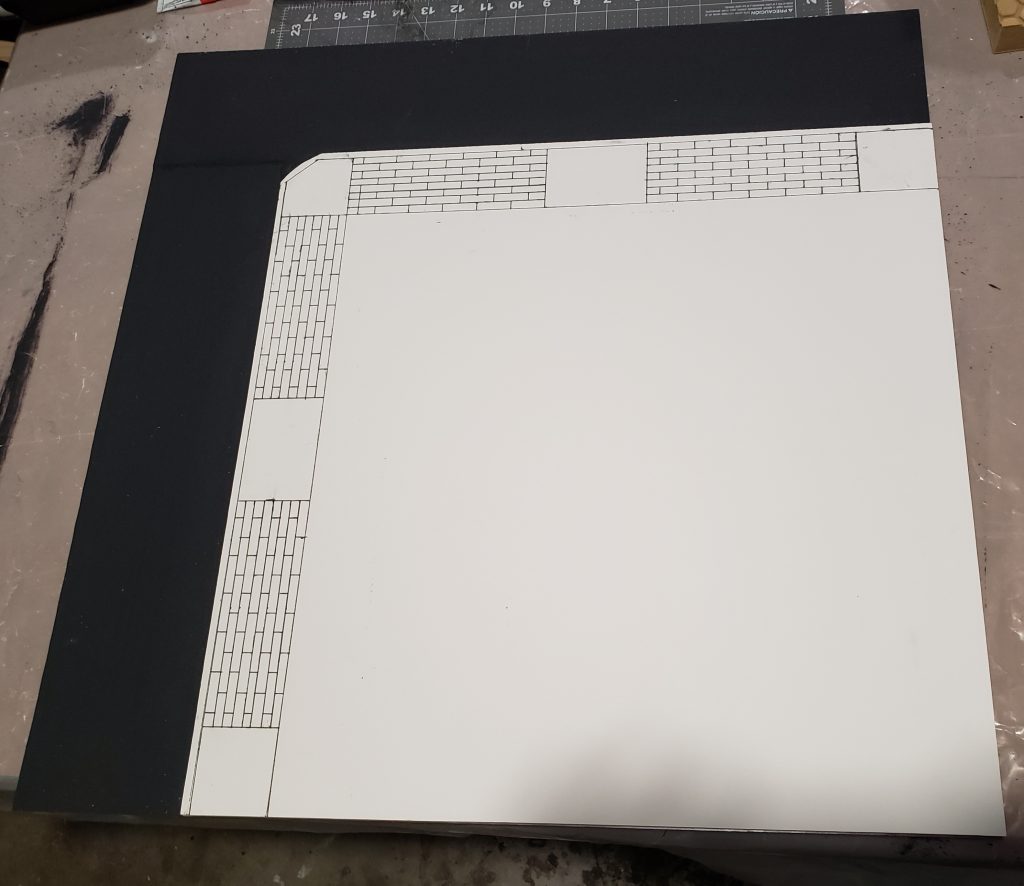
I cut some strips of 5mm wide cereal box cardboard as well and glued them down with white glue along the sidewalk edges to serve as the concrete gutters alongside the roads. They kept want to curl as the glue dried and I kept having to push them down into place. Once they were dried I had to cut them in a few places where they were still buckled and glue them down again, which was fine because it ended up looking like joints or cracks in the pavement where they were snipped and rejoined.
Curb a-peel
I ended up using the same Pavement paint as a base color for the sidewalk areas as well – it would be lightened up by multiple other layers later. It was at this point, everything cut and glued and ready to start stippling paint, that my boards started coming apart. Specifically, the magnetic material was peeling away from the MDF.
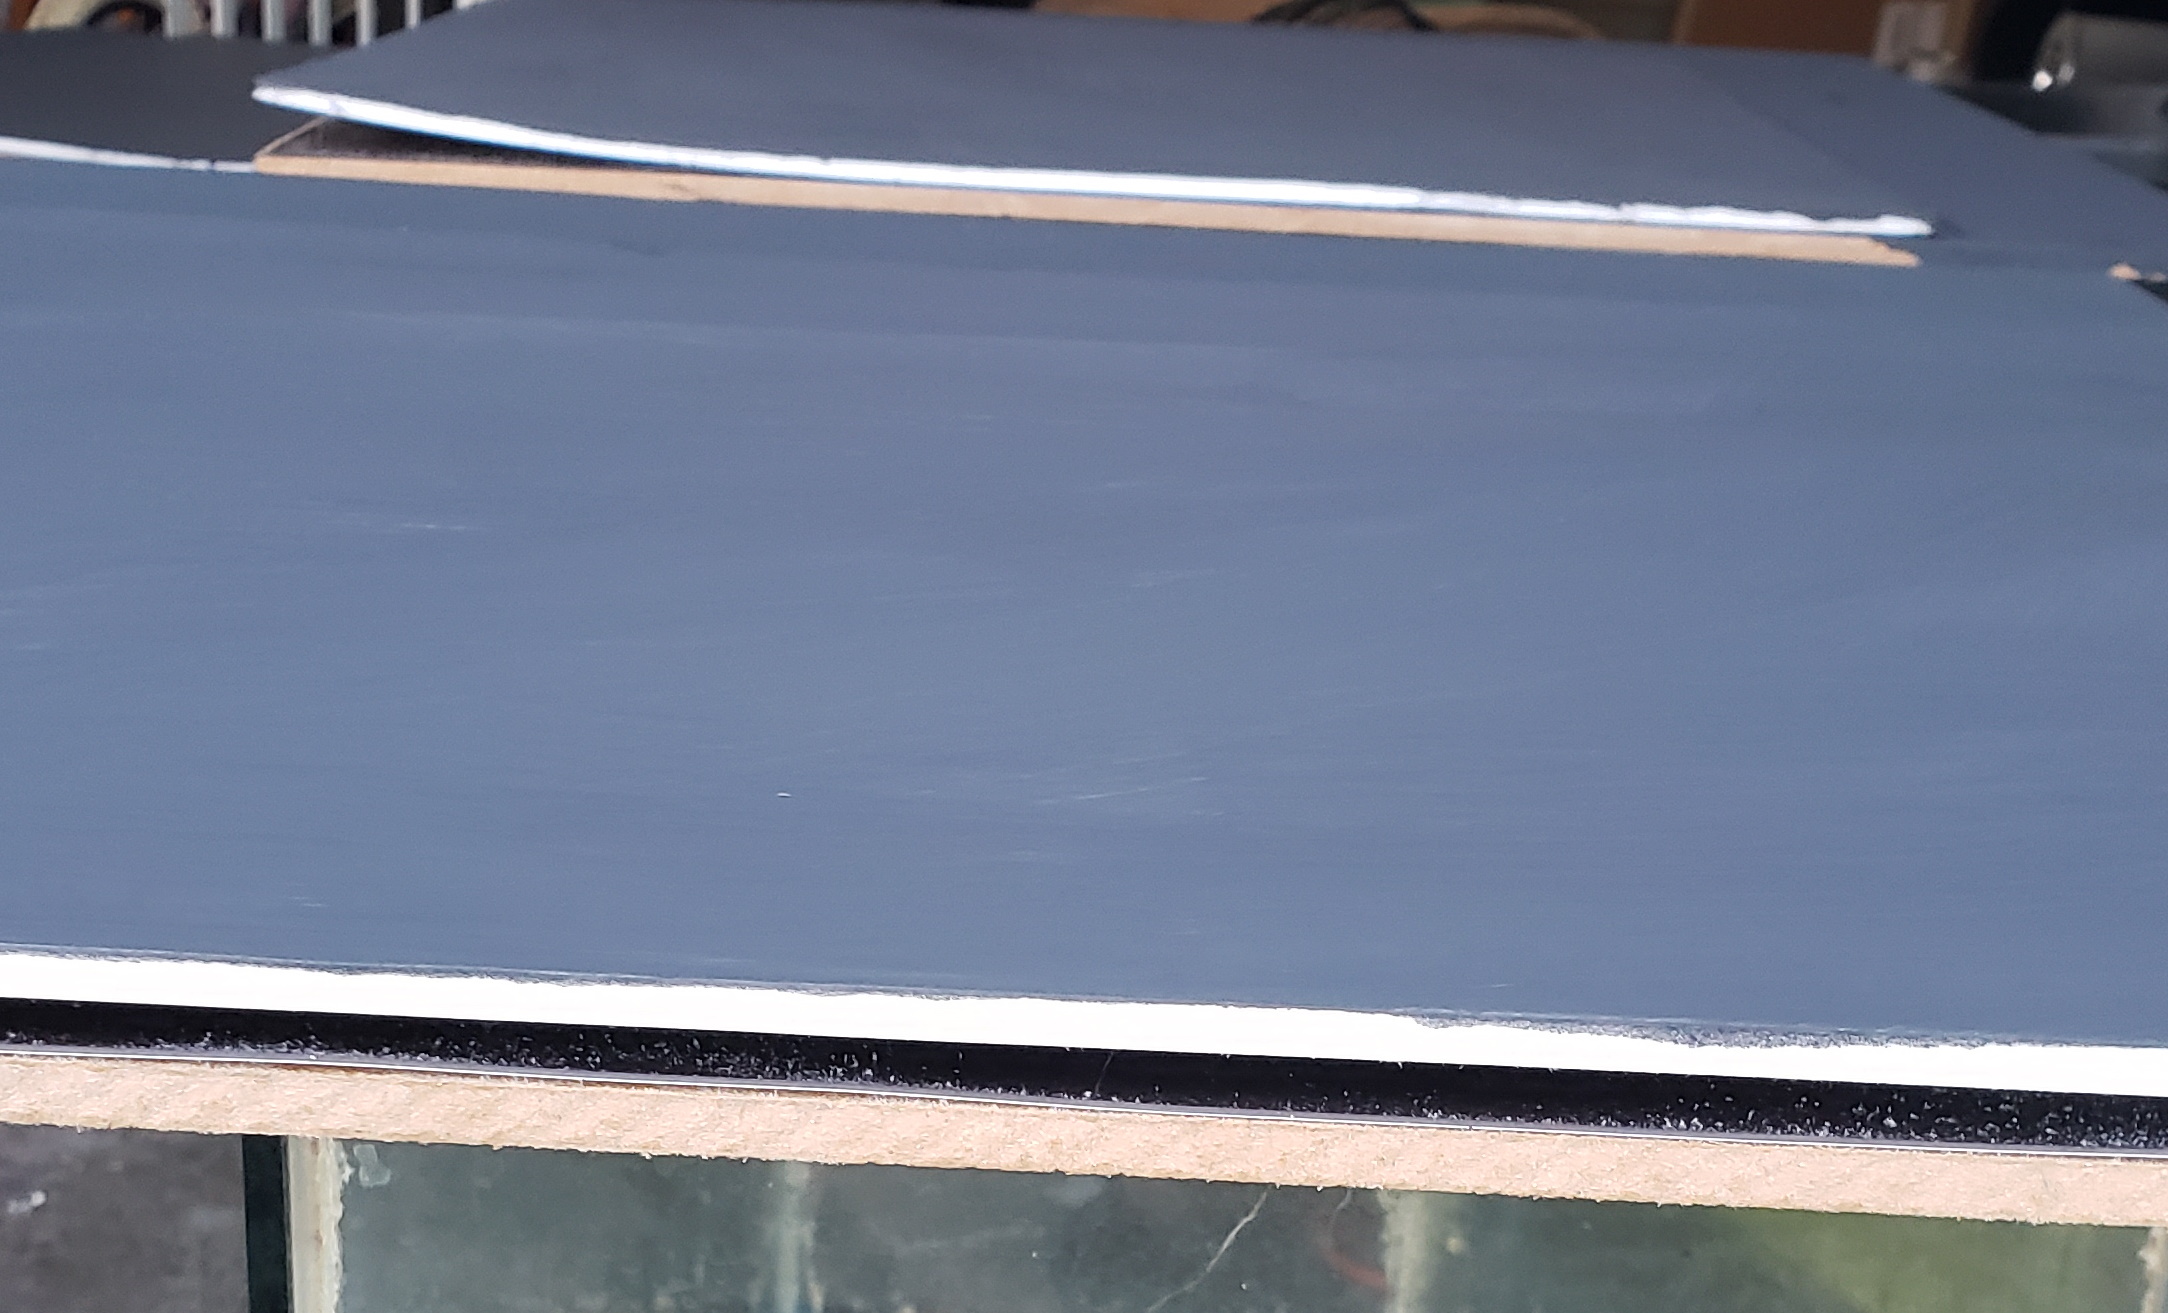
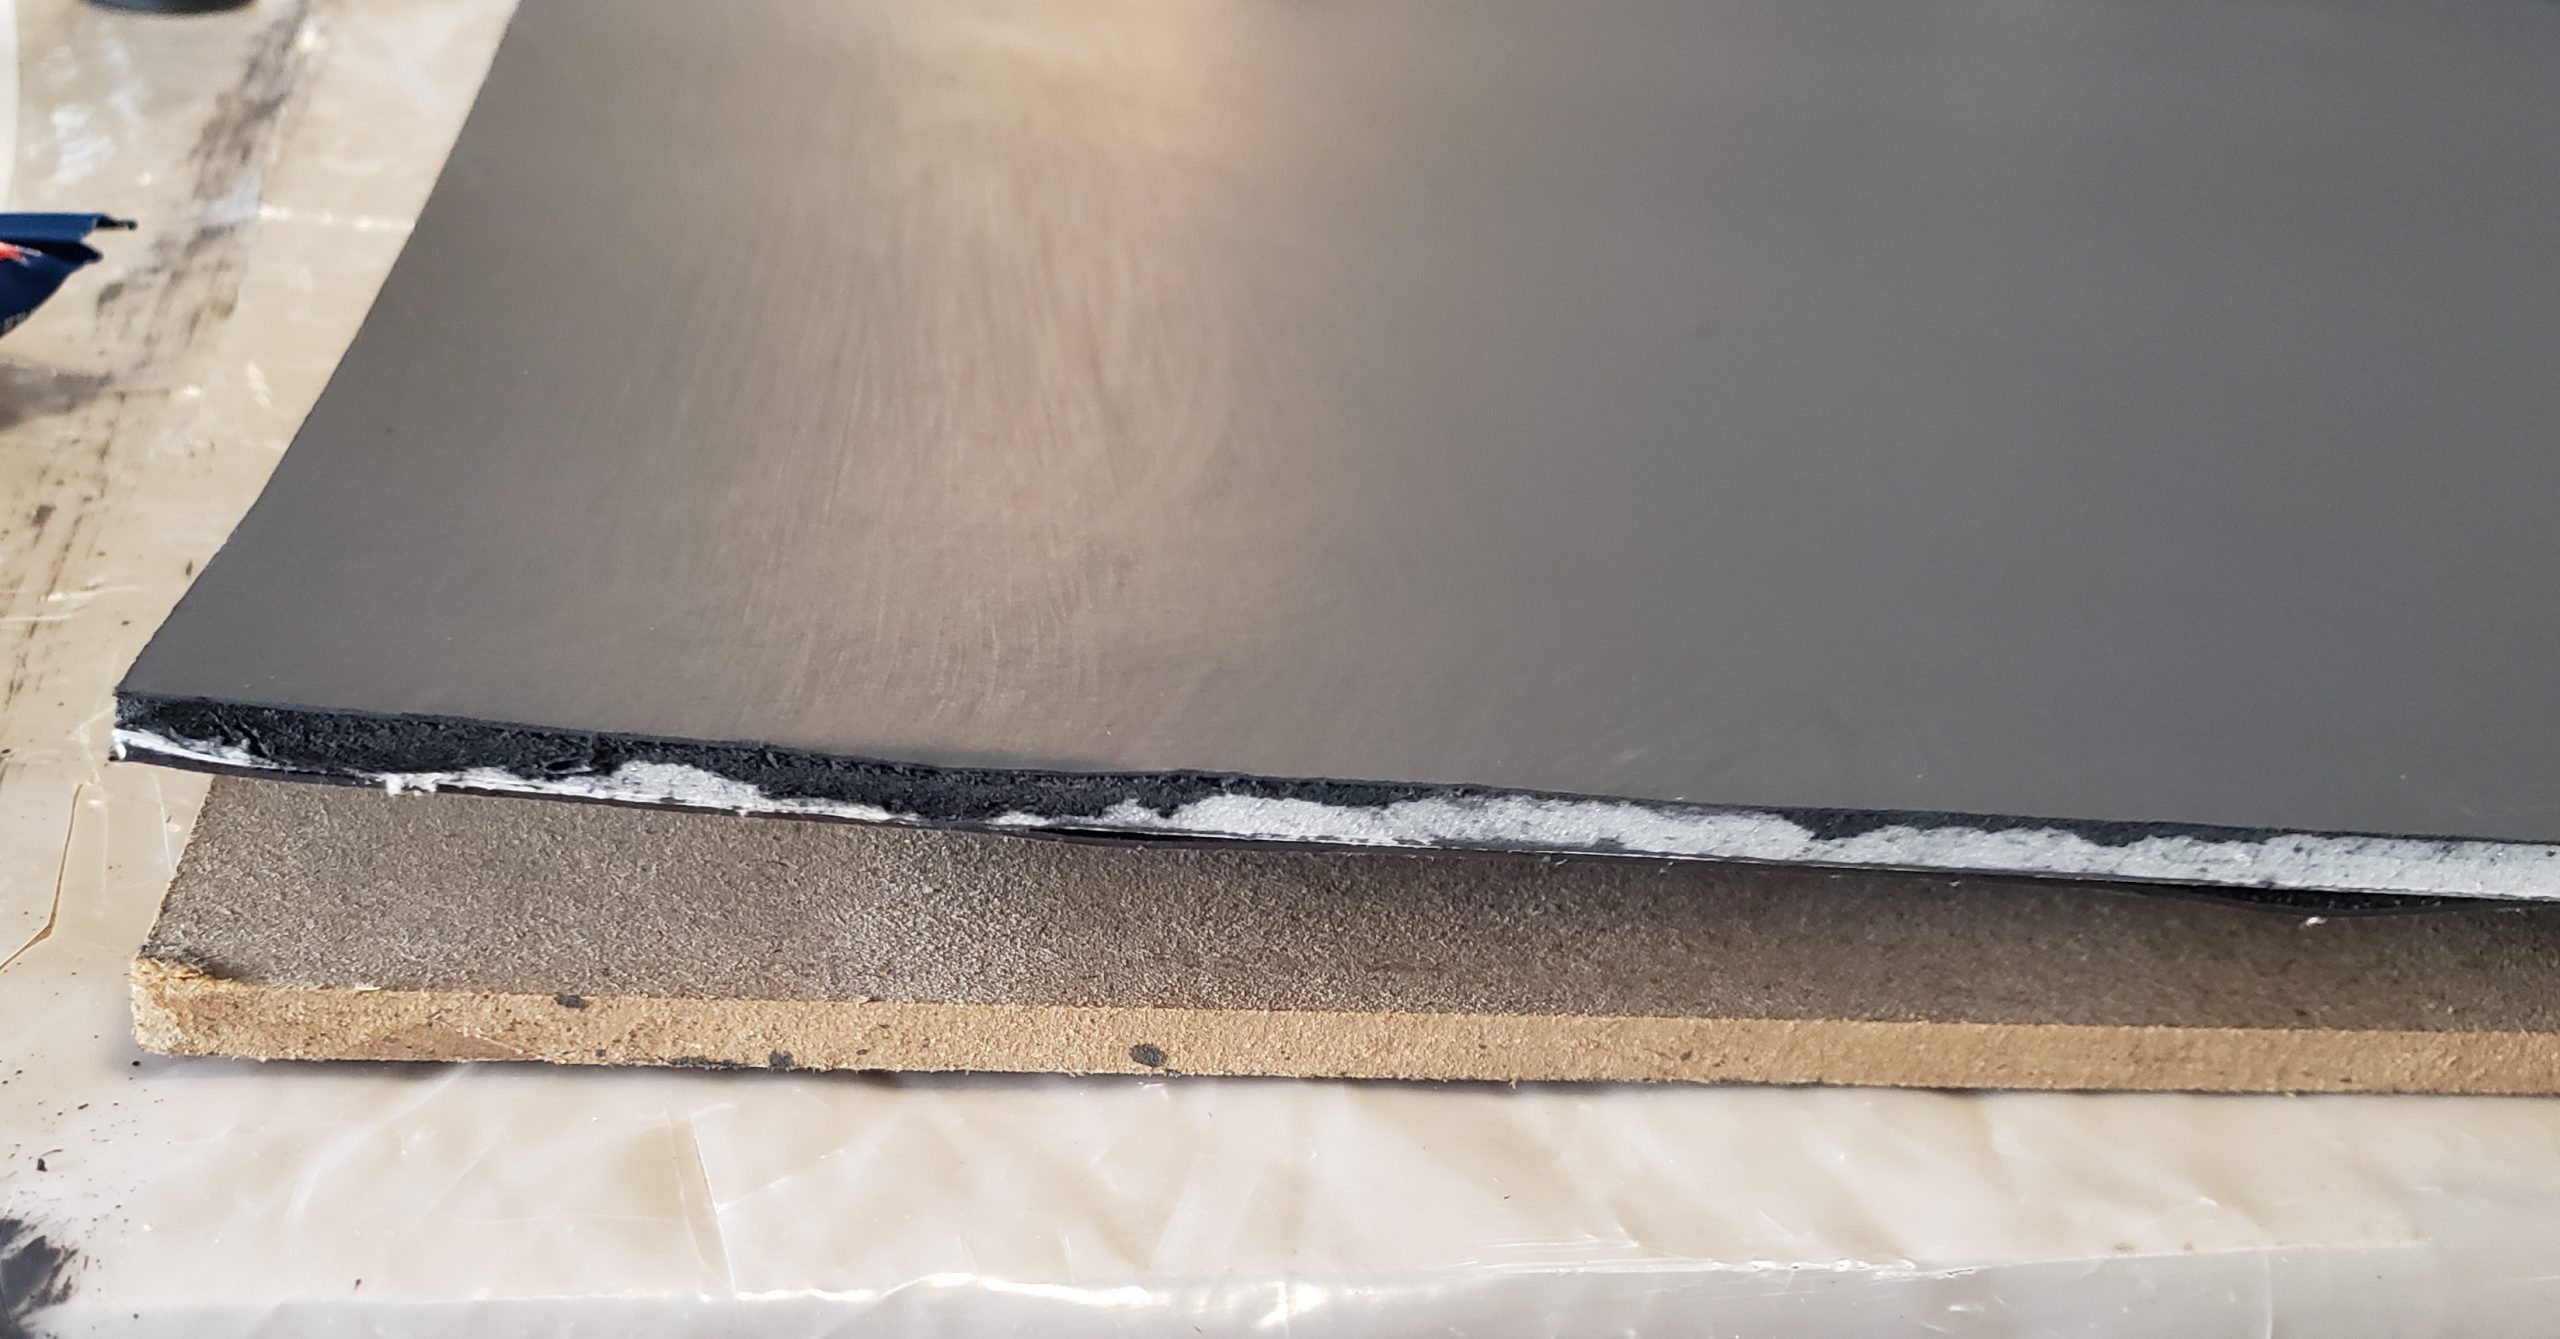
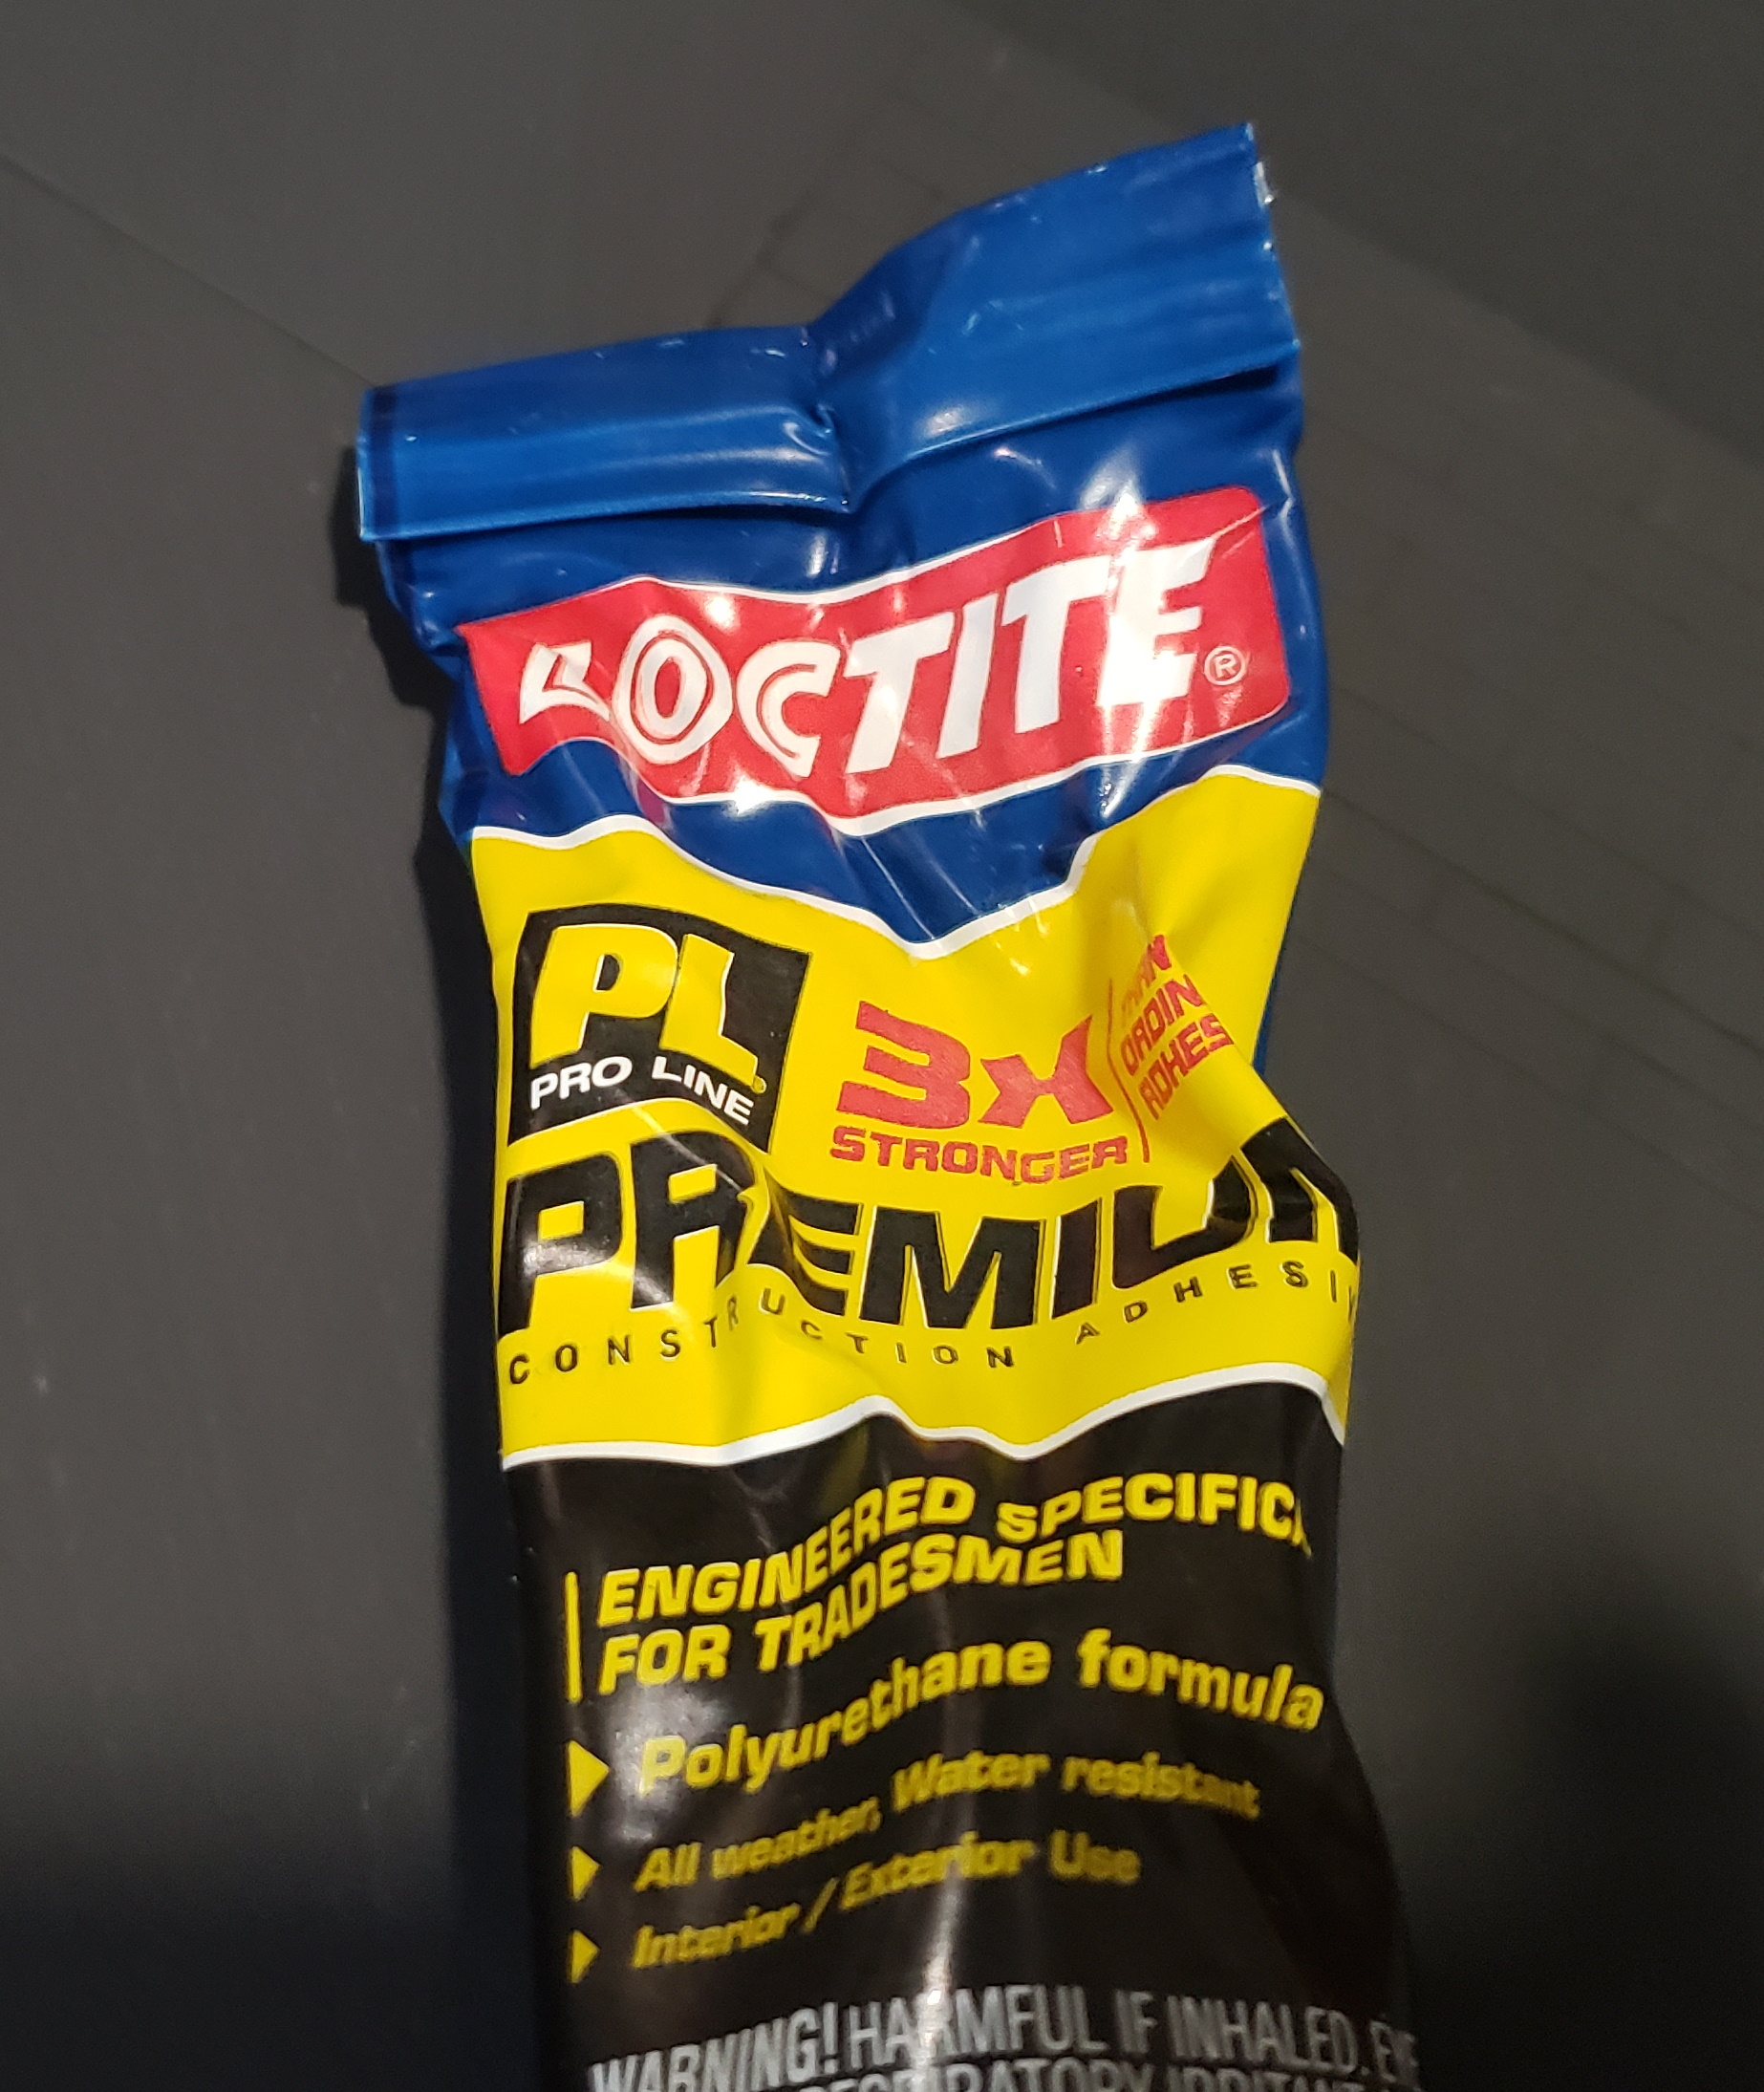
I had a tube of some sort of LocTite brand industrial adhesive around that would have been the next thing I tried if the Super 77 hadn’t appeared to work. I squeezed some of that onto a popsicle stick and started smearing it into the gaps. Weighted down and left to set overnight… it held! Emergency averted – smooth sailing from here on out! (Dun dun… oh, you get the picture.)
Painting the sidewalk/concrete area was next. Over the Pavement base I used a big painting sponge from Lowe’s to stipple on a few layers of increasingly lighter gray, ending with a shade I’d picked up for $1.25 from the mis-tints at one of the local hardware behemoths.
After another overnight dry, I masked off the brick areas with tape and applied an appropriate red color. A few individual bricks were singled out for paint with slightly different shades just to add some variety.
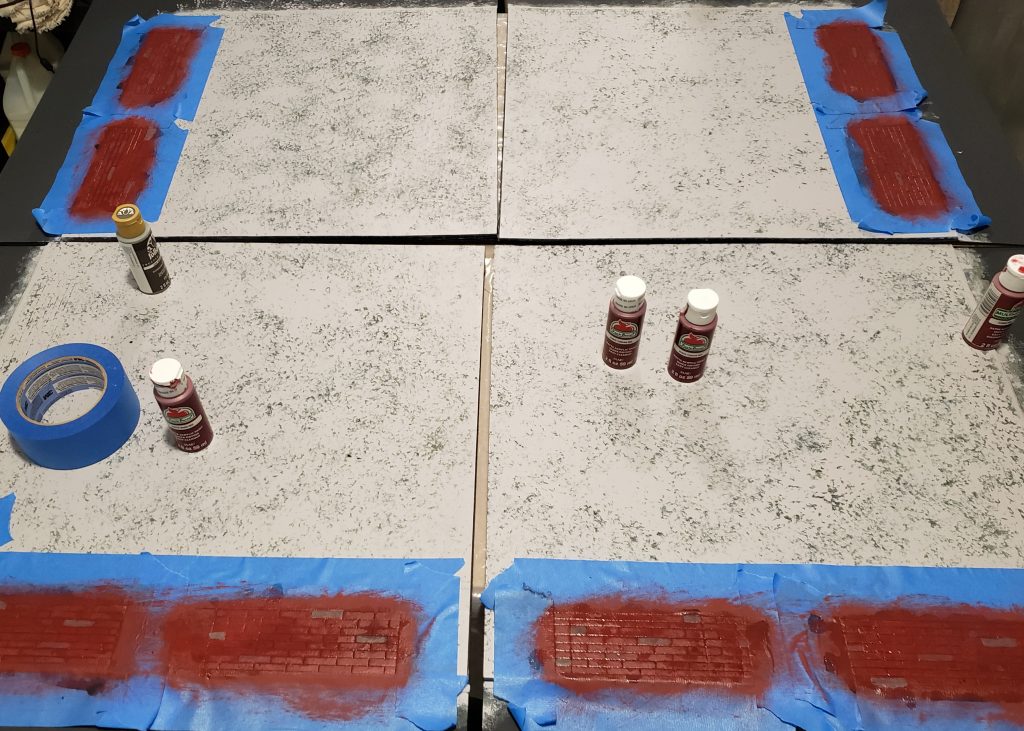
While working on this I noticed that I’d somehow made a brick section exactly one inch too long on exactly one of the boards, and when laid together they looked a little disjointed because of the difference. I decided to add a little detail by turning that section into a square where a section of sidewalk had crumbled and not yet been replaced. This was accomplished by smearing in some texture paste and sprinkling a little slightly coarser material around the edges… which looked pretty good when dried, but most of which I, naturally, forgot to photograph at the time.
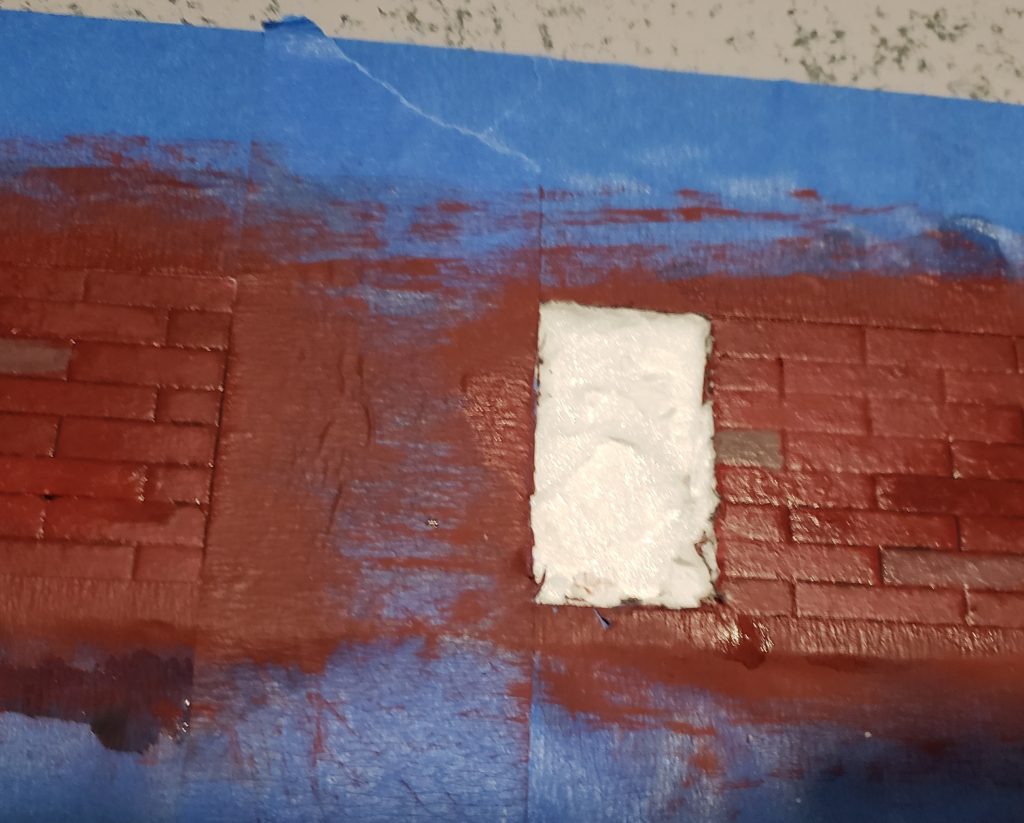
The brick sections looked good but the cracks between them didn’t seem well defined, so I added a thin black wash across them while the tape was still on.
At this point while the wash dried I got out my magnets and sat a few on the foam surface to see what kind of adhesion they’d have on this almost-finished product… and was disappointed to find that it was negligible enough that they would easily slide off the board if I tilted it. The small ones even rolled on the way, indicating attraction so low that they wouldn’t even stay face down as they slid. So it would seem that my expensive magnetic sheet idea was going to offer minimal benefit at the cost of thicker, heavier boards and not a small amount of dollars.
Still, the surfaces were shaping up nicely, so the project wasn’t a total loss.
Yet.
Tears in the fabric of space and time (or maybe just foam)
All that was left now was to pull off the masking tape around the brick areas, swirl some watered-down brown across the pale surfaces to add some slight color variation, touch up the roads where the stippling had hit them, and give it a good coat of spray varnish. No problem.
Except…
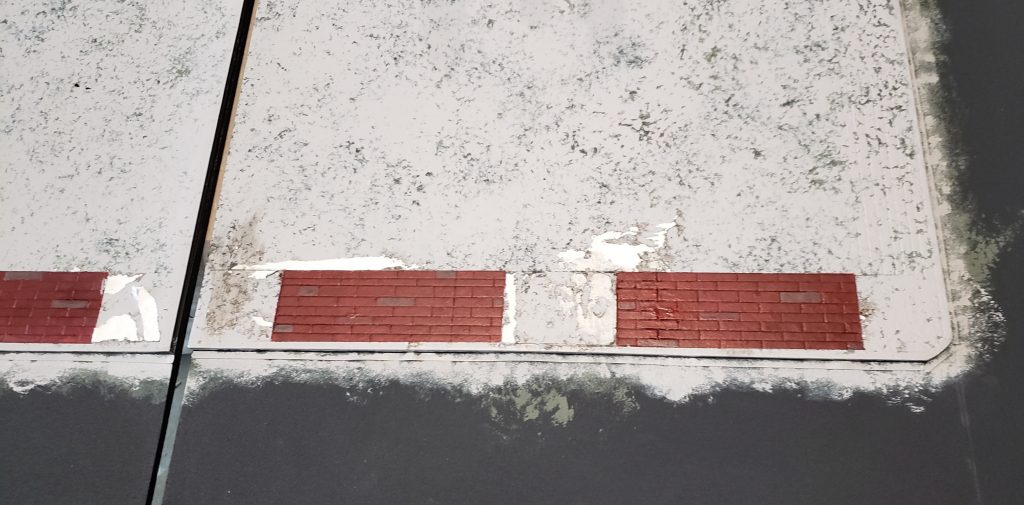
Around every single brick section, removing the masking tape ripped away some of the paper surface of the foam beneath. I suppose if I wanted a post-apocalypse look or a really run-down feel I could have just done some pitting and gouging in those areas, added some weathering, and written it off as damage… but that wasn’t really what I was going for.
I tinkered with trying to repair the damage with light sanding with a fine grain to try to smooth everything together, but it mostly just rolled the paper more at the edges. I flirted with the idea of trying to peel up the damaged paper and glue in some thin cardstock to replace it, maybe smooth over a light amount of spackle across the edges, but… as I contemplated whether that would work and thought about all the other compromises that had already been made on this build, I made the executive decision that it was time for a reboot instead.
More on that in the next post.
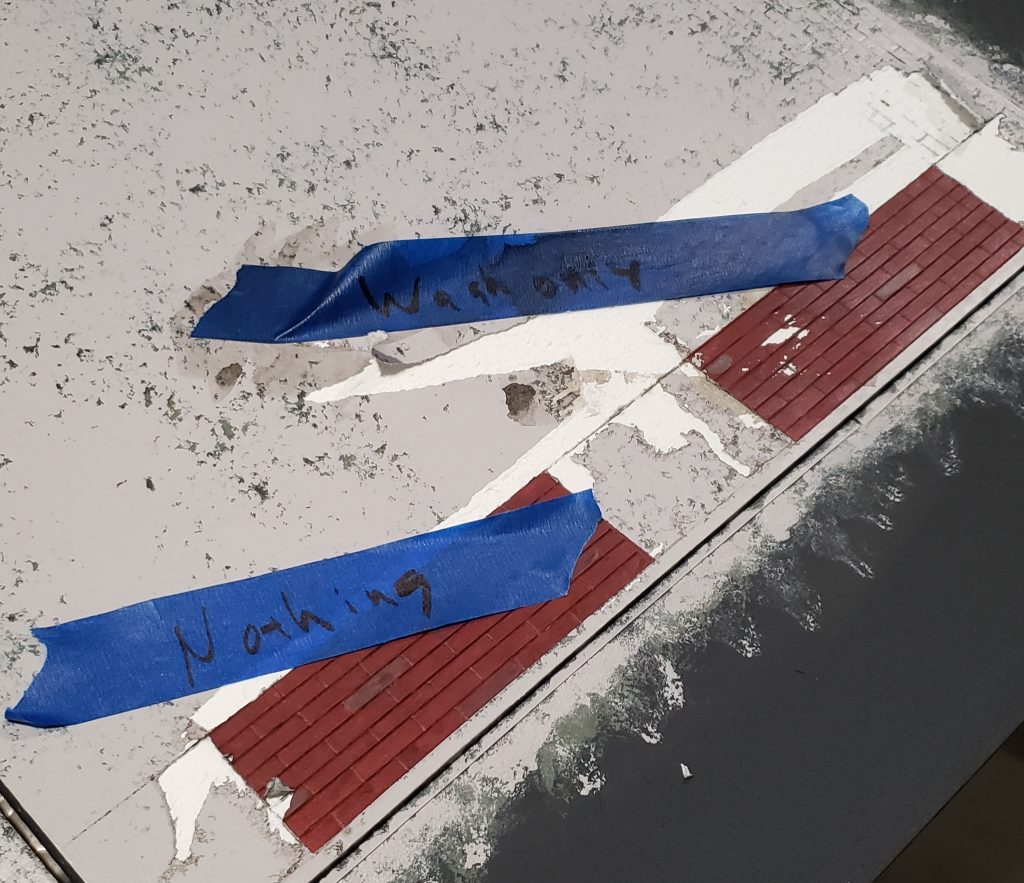
Before I dismantled everything to try to recover the MDF boards, I wanted to determine why the masking tape failed. I suspected it was simply an issue of the wash I used being watery enough to soak through, but in the interest of not repeating the same mistake I wanted to be sure. I was also curious if a couple of coats of gloss spray varnish before masking the surface would help protect against this problem.
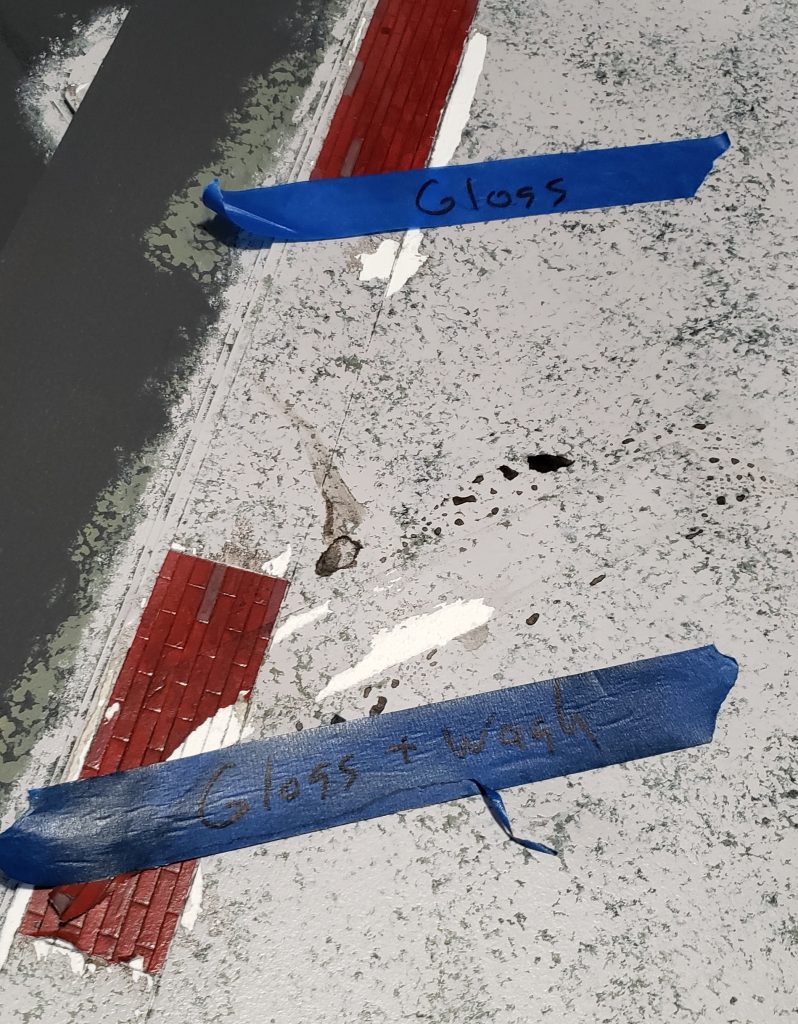
Experiment time! One board got a few layers of spray gloss, one remained uncoated. Each got one strip of tape with a wash applied over it and one without.
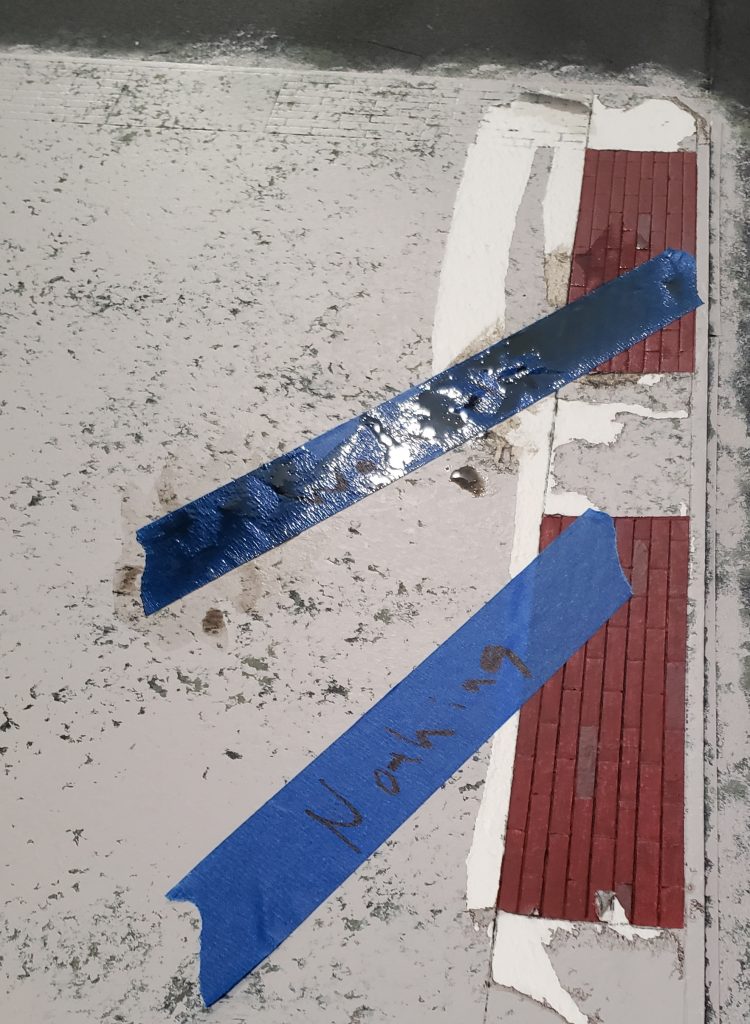
An overnight dry and subsequent tape-peeling revealed that the wash was in fact the culprit, and that the gloss varnish didn’t help much in this instance. Lessons learned.
Next time: I build ’em again!
Pingback: And when that city sank into the swamp, we built another! (Part 2) - (Re)Turning (to) the Tables
Pingback: Paving the way to adventure? - (Re)Turning (to) the Tables