A few months back I built some modular castle/wall parts based on a series of videos from a relatively new YouTube channel called RP Archive. Some of the videos showed images of some rubble pieces that fit into the stepped edges of those wall parts. I don’t think the videos ever covered how to build the rubble bits, but they looked easy enough. They were basically just messy piles of faux stone, and one thing I can make without instructions is a big mess.
I didn’t craft any rubble add-ons at the time I made the wall pieces, but I plan on putting together a crumbling temple wall for an upcoming D&D encounter that would benefit from some collections of crumbling rock – both for the visual impact and to provide some rough terrain to impact movement strategies. So it was time to crush up some stone!
The pieces in the video looked to have a sort of L-shaped frame on the underside and back of them to provide surfaces for all the other bits to stick to, and to appear as if there was still some material clinging to the surrounding rock where the rest had broken off from.
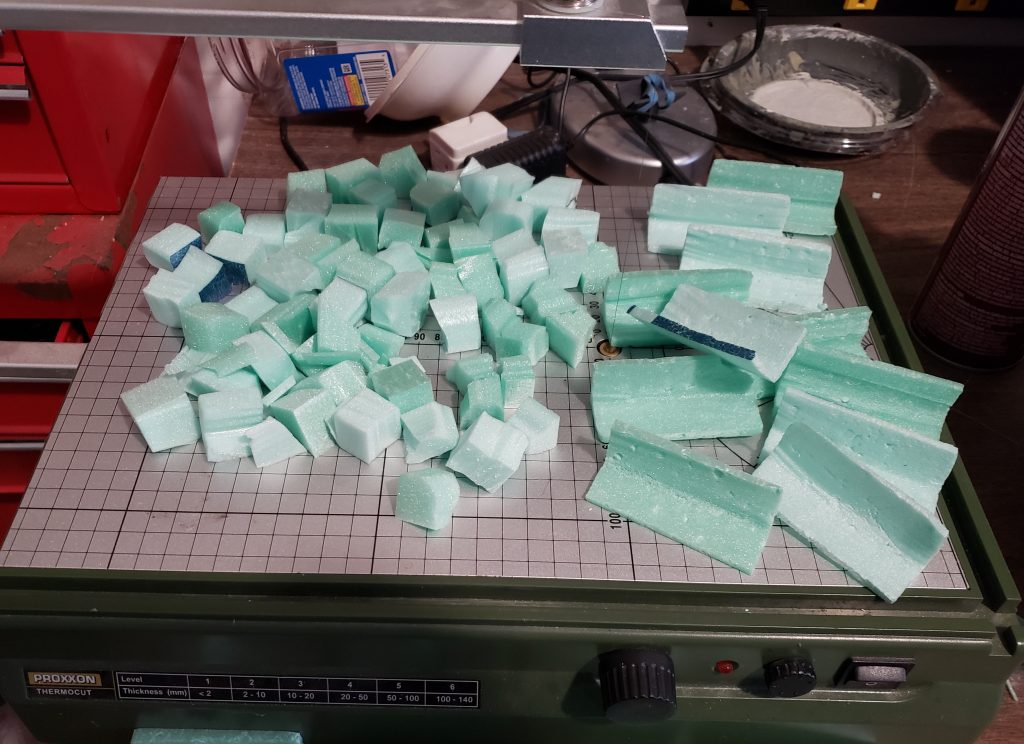
I started by cutting some scrap foam into strips of roughly 1″ square, then broke those down into lengths just under 3 inches. With the hot wire cutter, I carved the L shape out along the full length of each piece. The removed foam was chopped up into shorter chunks, leaving me with a collection that looked like this:
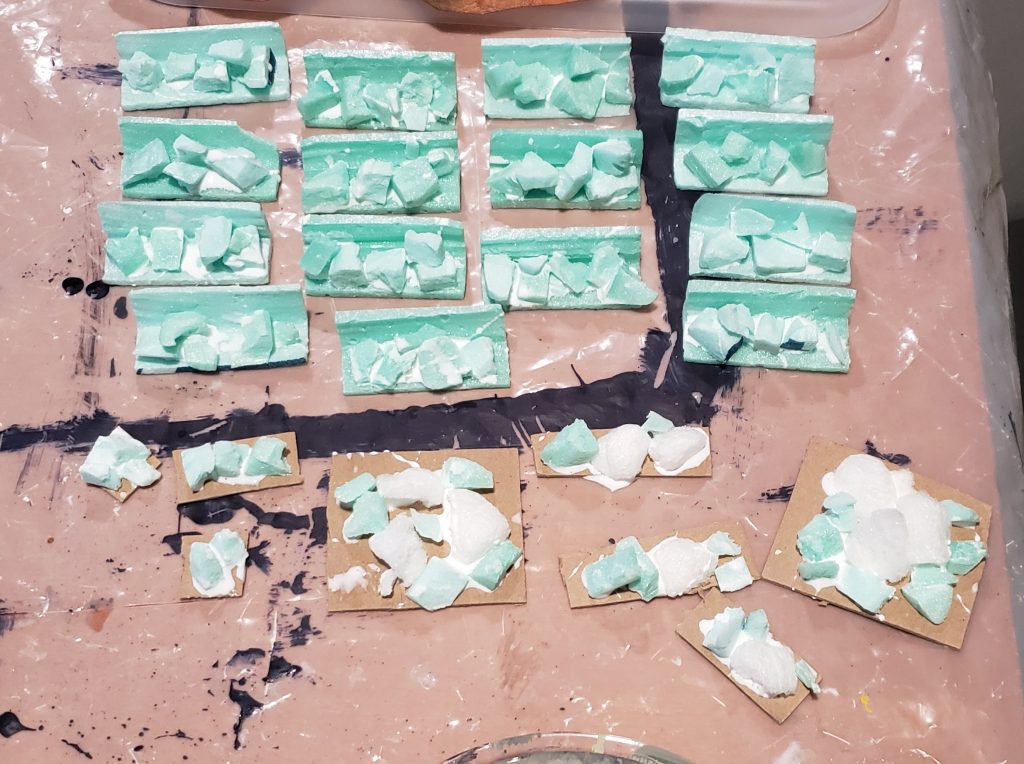
I started grabbing the rubble parts and tearing them by hand into smaller pieces to create some chunks with rougher textures in a variety of sizes. From there it was just a matter of slopping on some PVA glue and stacking the “rocks” onto the frames.
I also wanted to make some more generic ground rubble that would work in other situations, and would have coloring more like my dungeon tiles so they wouldn’t look out of place for indoor layouts. For these I simply cut some chipboard squares in several sizes appropriate for laying out on top of my tiles when necessary. I added some of the leftover torn foam to these as with the other rubble piles, but I also glued on some pieces of packing-peanut type foam that I thought had an interesting texture.
Once the glue was dry enough to hold the rubble in place, I started ripping some corners off the “L” pieces to make them look more weathered. I also used a pen to draw lines to divide them into 1″ segments so they would blend better against the walls they’d be stacked against. Similarly, the corners were rounded off the chipboard pieces.
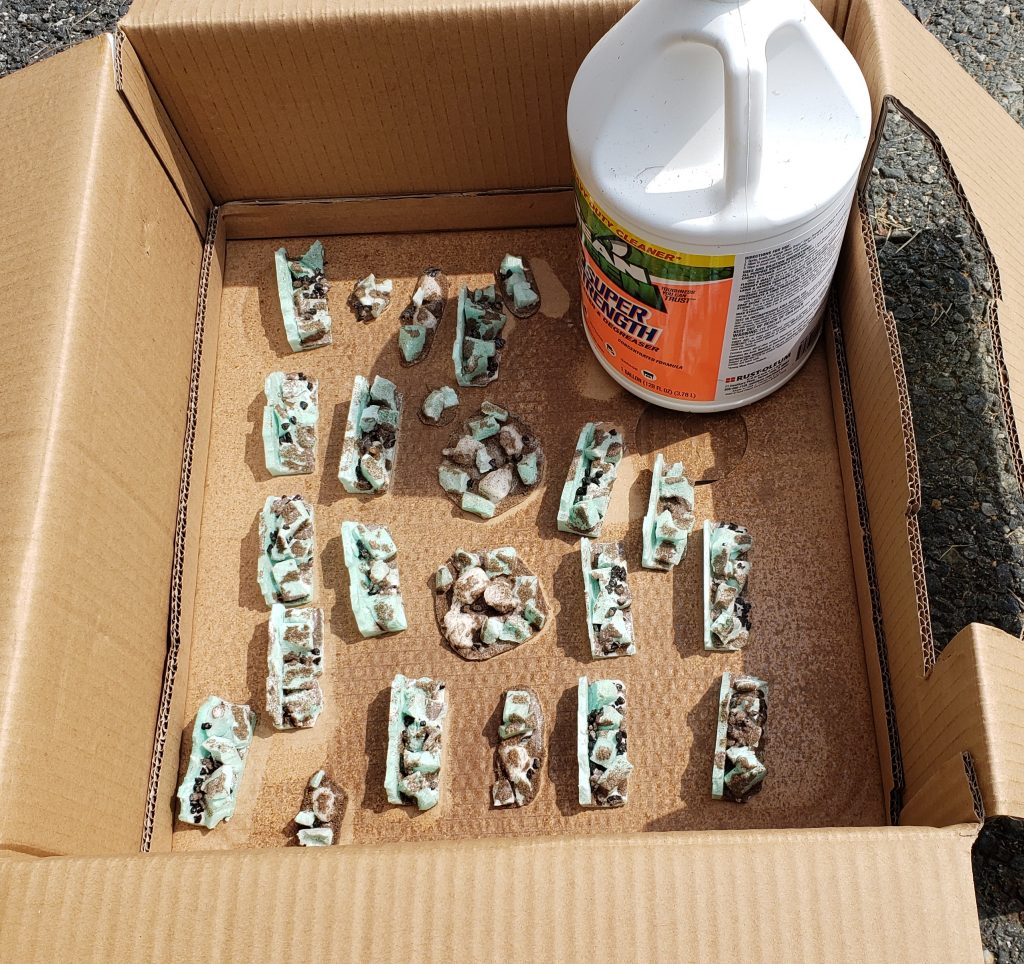
More glue was dabbed on with a brush. Some little black dollar-store rocks were added in among the larger rubble, and then exposed vertical surfaces had some mixed-grit fresh-baked Cape Henlopen sand sprinkled across them. The resulting assemblies were tossed into a box and set in the sun to dry.
Usually at this point my foam-based projects get a coat of Mod Podge and black paint mix – or my home-brew PVA-and-varnish approximation of it – but this time I didn’t use that. In part, I was worried that thinning it down enough to get into all the crevices would make it watery enough to re-activate the glue, at which point the paint brush would start to dislodge the rubble. Also, I was feeling too lazy to bother.
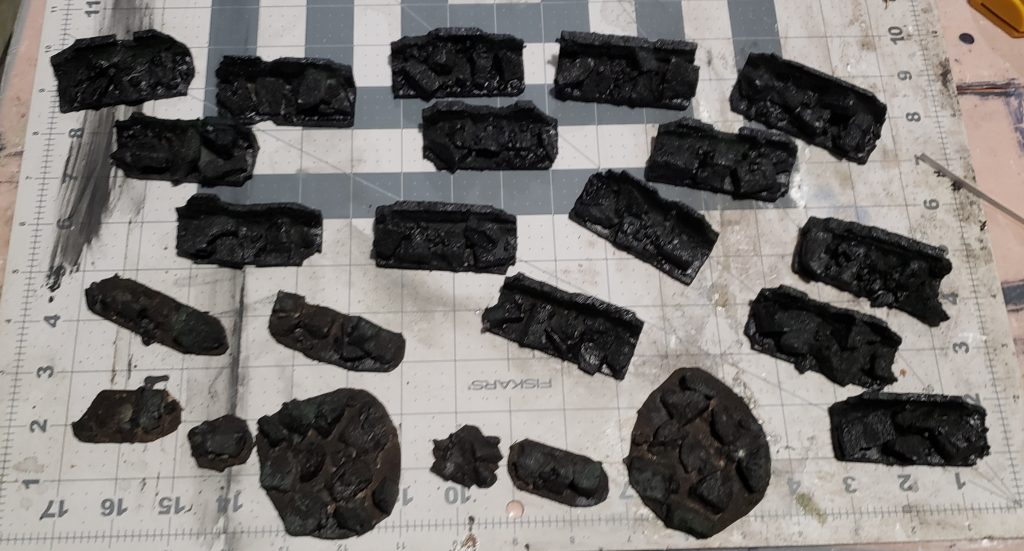
Spray painting foam is widely accepted as a great way to ruin any project you don’t want melted: the accelerant in most spray cans will dissolve XPS and most other foams. But in reality spraying foam is not entirely out of the question – the trick is to do multiple very light passes from far enough away that the accelerant disperses before it strikes the foam surface. I practiced this on some scrap pieces and found a safe distance for the black rattle can I had on hand and, once satisfied I could consistently get good results, I spray-coated all the pieces.
On the items that were designed to work with the modular wall system I applied a coat of the same Plaid brand “Linen” paint I’d used in that earlier build. The bases and rocks of the chipboard pieces got brown and gray, respectively, with dry-brushing of some lighter shades, and were finished off with some washes in brown and black.
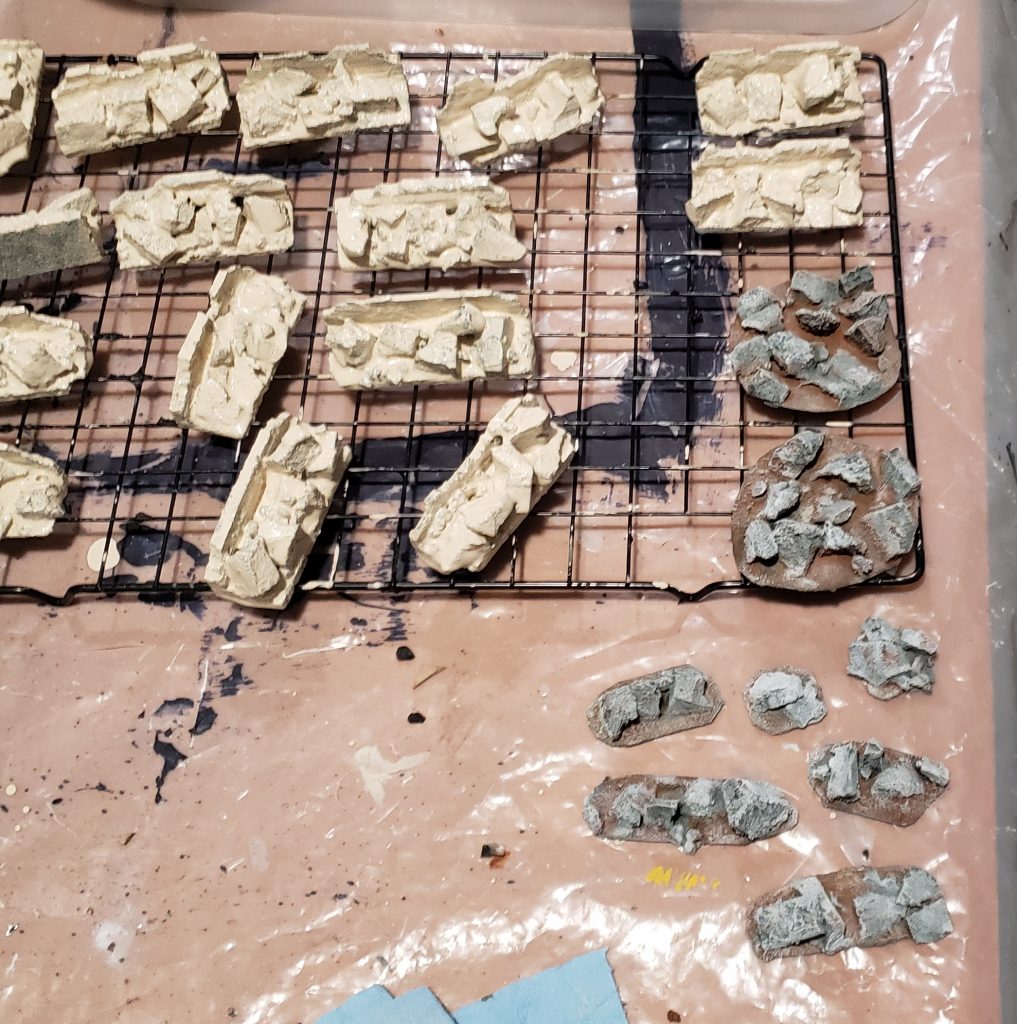
For the modular pieces, some color variation was added by painting one or two sections of each 3 inch length with one of the same mixed colors I’d used in the castle wall build. A drybrush of Linen smoothed out the contrast between the added colors, and a dark wash brought the textures back to prominence.
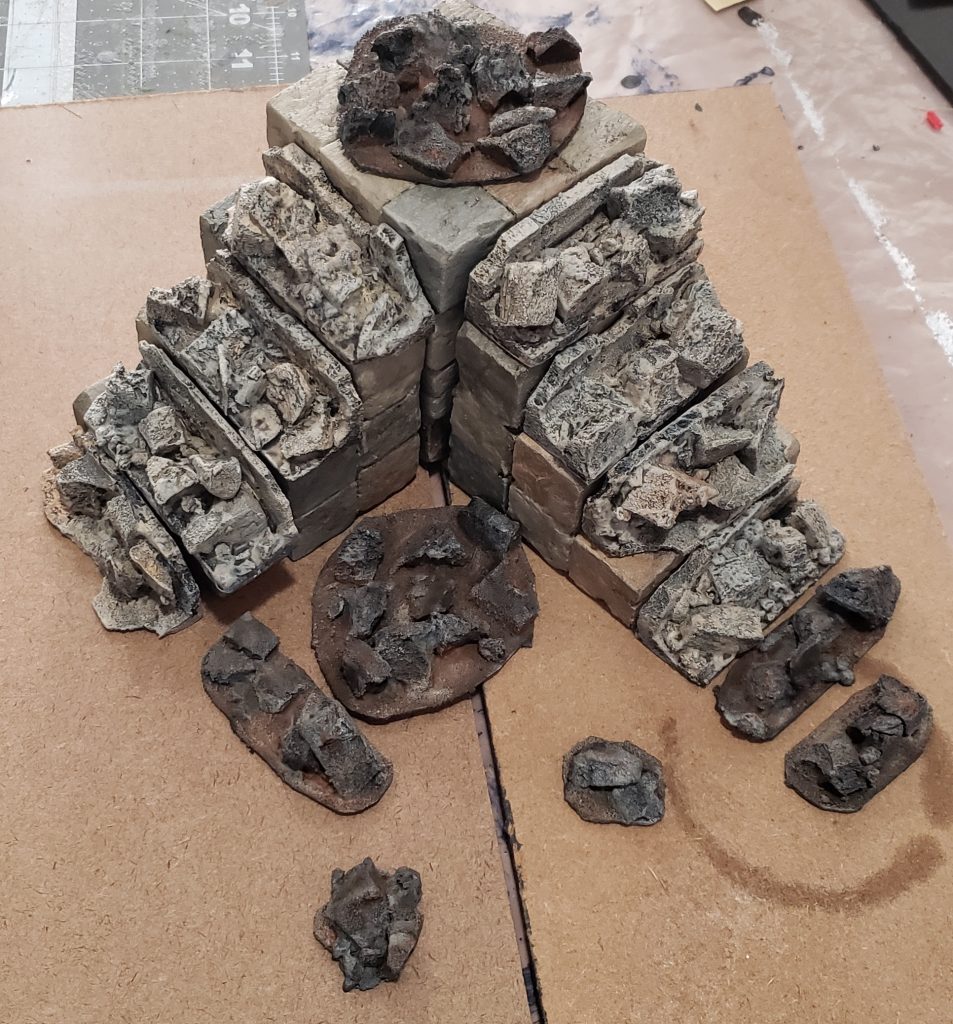
The increased amount of texture vs the flat stone pieces meant that the final dry-brush had a lot more edges to catch so the pieces look lighter overall than the whole blocks. This is not really a bad thing, though, because it seems likely that the process of becoming rubble would kick up a lot of dust which would then settle on the rocks…
Pingback: We built this city! We built this city on... foam... and... er... paper. - (Re)Turning (to) the Tables