I’m an inexperienced photographer using a simple mobile phone camera to take photos for this site in spaces that really aren’t properly lit, so the images that have appeared here have been… let’s say… hit-or-miss in terms of quality. Many have been taken outside and washed-out from bright sunlight; most others have been shot under normal room lighting on my cluttered desktop or in what I’ve come to call Messy-Garage-O-Vision.
I’ve been wanting to up my photo game without investing in equipment or having to dedicate a space for setting up pictures, so when a few holiday boxes started showing up from Amazon, I swiped the largest of them to turn into a photo booth of sorts. The box I used was larger than necessary for minis, but will hopefully work with small-to-medium terrain items as well.
I’d watched a number of videos on home-building photo light boxes and it seemed like a basic one would be the right combination of cheap and effective… and would only take a few minutes to build!
Having planned to start this little side project as soon as a suitable box presented itself, I’d already picked up a pair of flexible clip-on lamps from Walmart – I think they were $12 each – and some appropriate bulbs (the natural sunlight colored variety). The only other investment involved was a roll of dollar-store tissue-paper – the kind used in gift wrapping.
Construction was simple. I cut off the flaps from the open top, then cut a hole in each side (but not the bottom). Really I could have cut into only three sides, but this option would allow me the flexibility to use the setup in “landscape” or “portrait” mode, so to speak. To diffuse the incoming light, tissue paper was taped over the holes I’d cut.
That was it. The whole construction process.


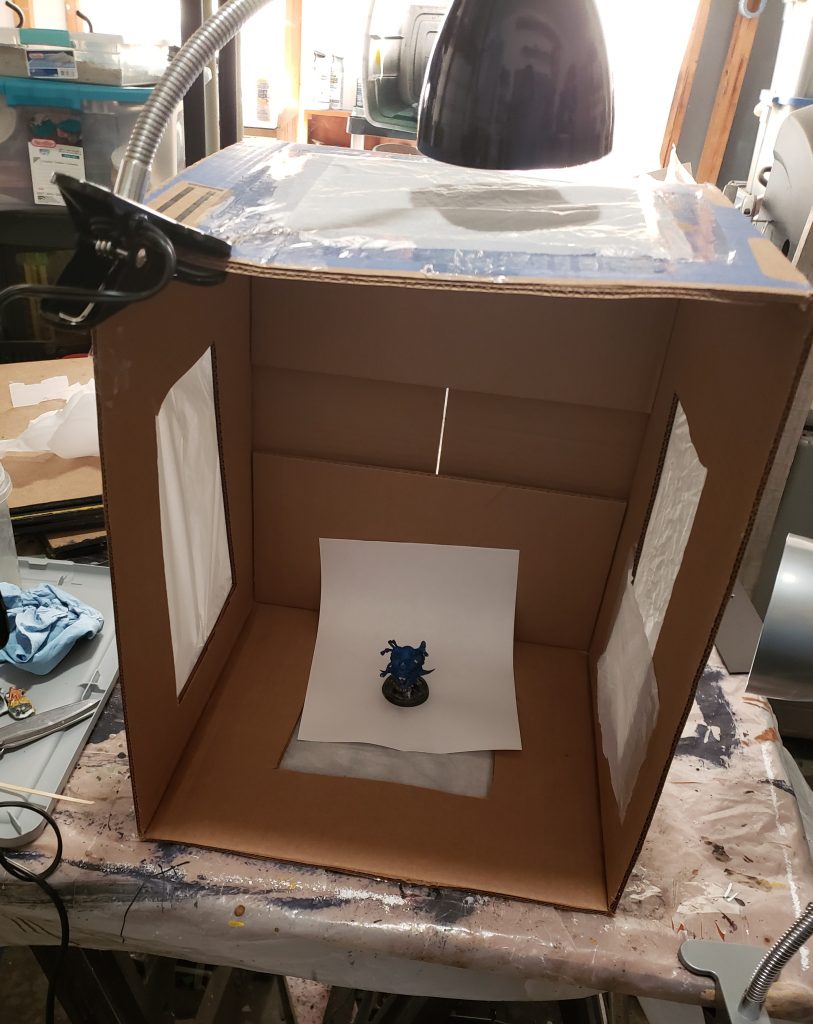
Now I could position my lamps to cast diffused light from either side or above, in one or two combinations since I had two lamps.
The inside of a cardboard box in itself isn’t very photogenic, though, so a better background was needed. The simple solution for my test photo was a sheet of white printer paper leaned against the back of the box, with the photo target positioned on the paper. This would create the illusion of an infinite white background. I’ll probably pick up some larger sheets of paper and just scotch-tape one into place as needed for future shots.
With light coming from above and from the right, I took some test pictures of a mini I’d recently painted.
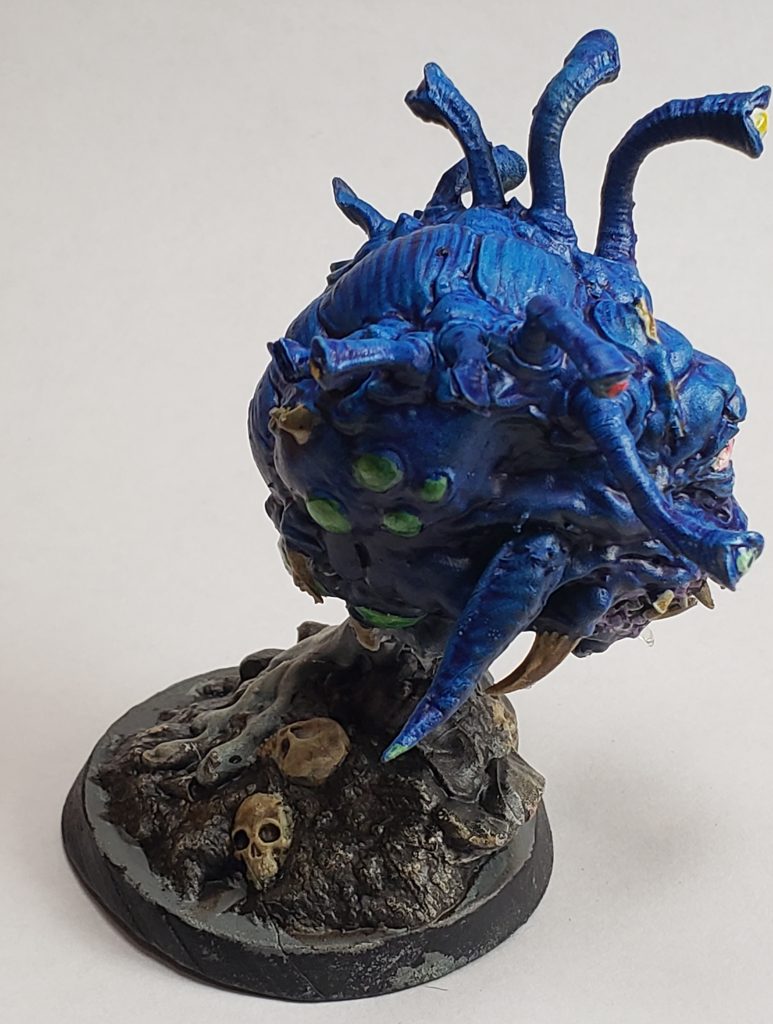
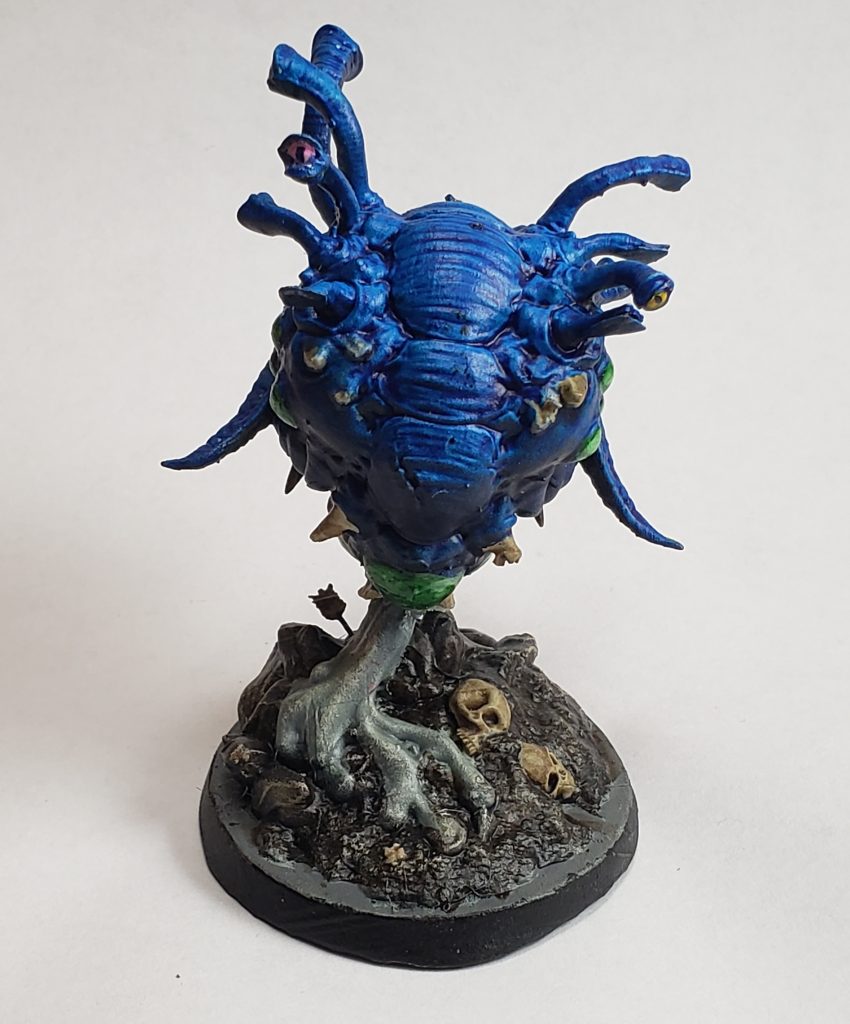

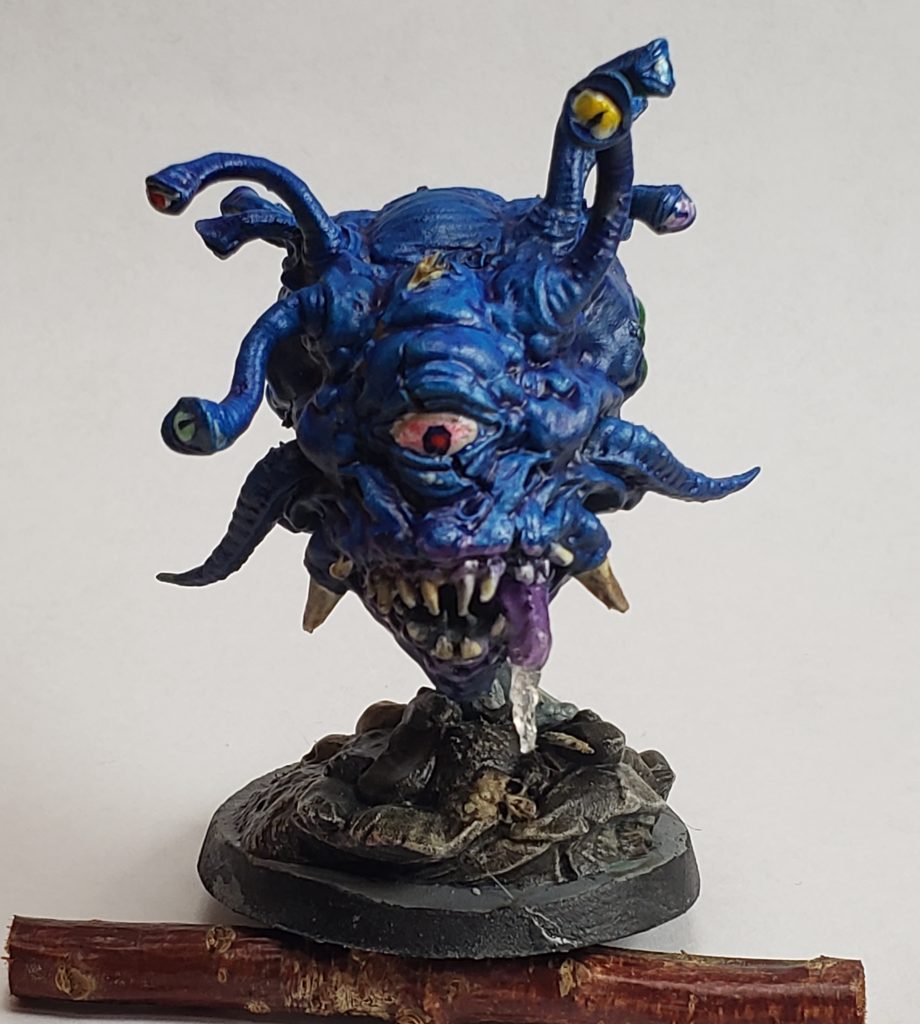
The shots of my poor, battered Beholder looked crisp and clean, not dark or washed-out, with the coloring and details clearly visible. (Given my limited skill at painting eyes or… well… precision in general… this was perhaps not the best choice of minis for the premiere of more detailed photos… but it was the one I had just finished so it was next in line. The mini itself had sort of a forward lean to it that hid some of the mouth detail from straight on – thus the stick used to prop up the front.)
There’s some room to grow and experiment with this setup as well. I’ll probably play around with simple changes like colored backgrounds, or colored clear plastic sheets over the tissue paper to change the whole feel of a scene. Picking up a third lamp might add a little more flexibility, or perhaps a little narrow-beamed flashlight to create a spotlight effect? I can envision printing out detailed background images as well, or maybe trying to achieve a green-screen-like effect where I can replace a blank background with a digital image.
The box is lightweight and can be easily tossed onto a high shelf when not in use; the lamps will clip on next to it for storage. I could probably even open up the flaps on the original bottom of the box to be able to fold it down flat when not in use.