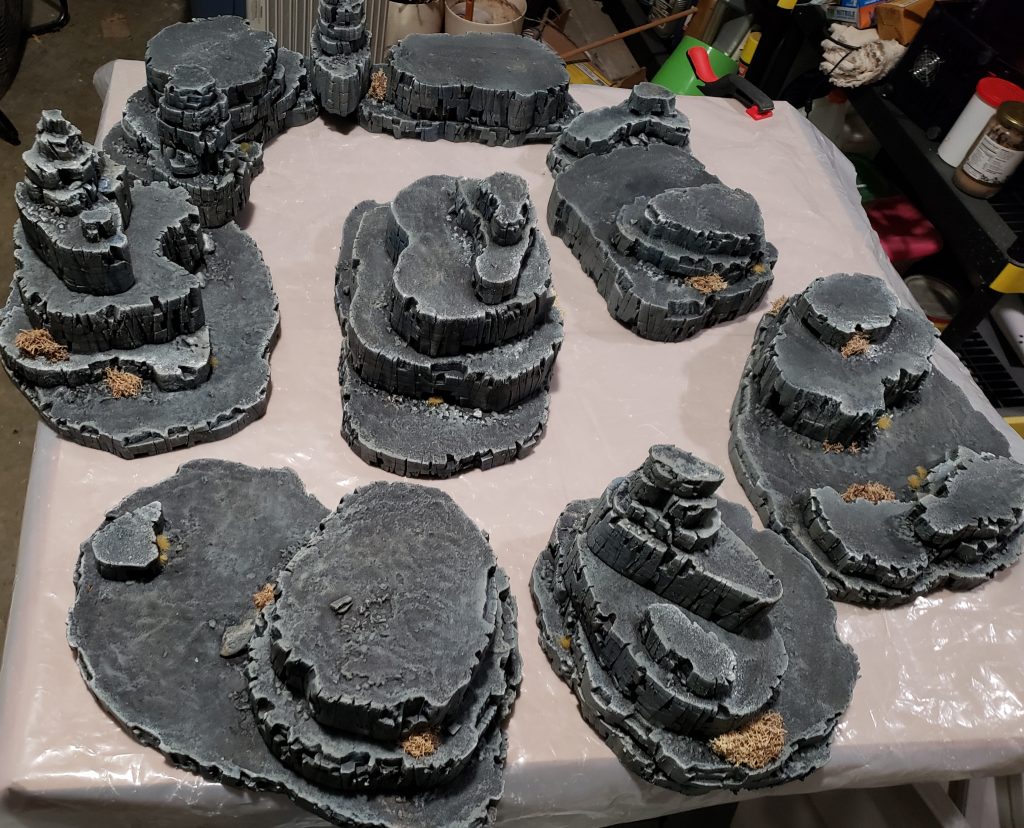
During the lull while waiting for a static grass applicator for my ongoing bookshelf diorama project, I had an urge to work on something simpler to knock out one of the many, many items on my “to craft” list.
Back when I first got into this hobby, one of my early builds included some very basic rocky terrain, and for some time I’ve wanted to go back and supplement that small collection. I wanted something a little more interesting to look at, though, while still having plenty of playable surfaces. I oscillated back and forth about whether to approach the build with the intention of using lots of flocking and static grass – which would make the pieces look really out of place in any environment except forests or grasslands – or keeping them simpler, resulting in more flexibility at the expense of maybe less visual appeal. Even if I wanted to invest the time and materials to make multiple sets for different environments, these pieces would take up a fair amount of storage space that I didn’t want to fill up with near-duplicate terrain.
Enter this Wyloch video from a few years ago:
Yes, these would work nicely in many environments – not looking too plain and not looking too out of place.
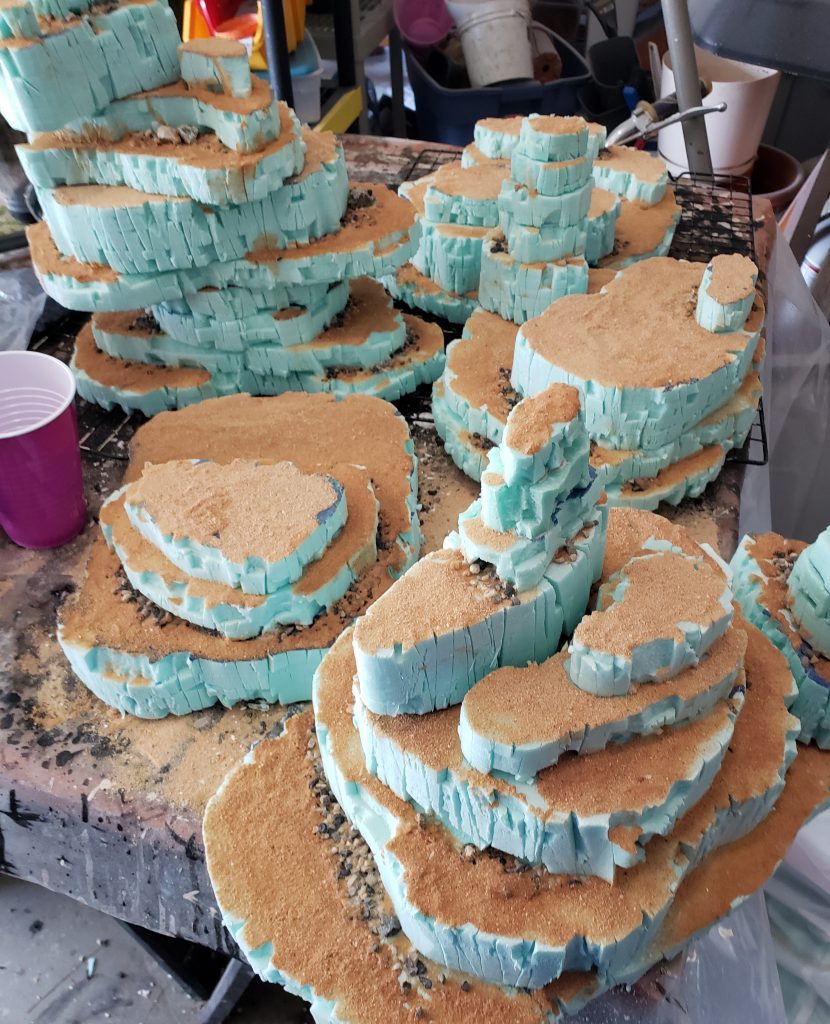
So I fired up the hot wire cutter, grabbed several different thicknesses of XPS foam, and started cutting out blobs. After amassing a large pile of blobs of various shapes and sizes, I cut 3 to 6 horizontal slices (depending on the thickness of the XPS) all the way around each piece, followed by random-ish vertical cuts all around the edges. That was followed by a process of scraping a metal ruler across the criss-crossed slashes to rip away a broken stone pattern… a process which caused some unpleasant blistering on my thumb and hand from the way I was holding and scraping.
Blobs blobbed and rocky edges rockified, I started arranging all the bits into differently shaped stacks. When I was satisfied with the layout, I started gluing them all together using some caulk-tube foam adhesive I’d bought (which worked well) and PVA when I’d run out of that (which worked just as well but took longer to dry). Next I spread some PVA on the flat surfaces, added a couple of large stones and a smattering of medium ones to serve as rubble, then grabbed handfuls from my big-bag-o-playground-sand to spread across it. I left a table full of unpainted crags to dry overnight.
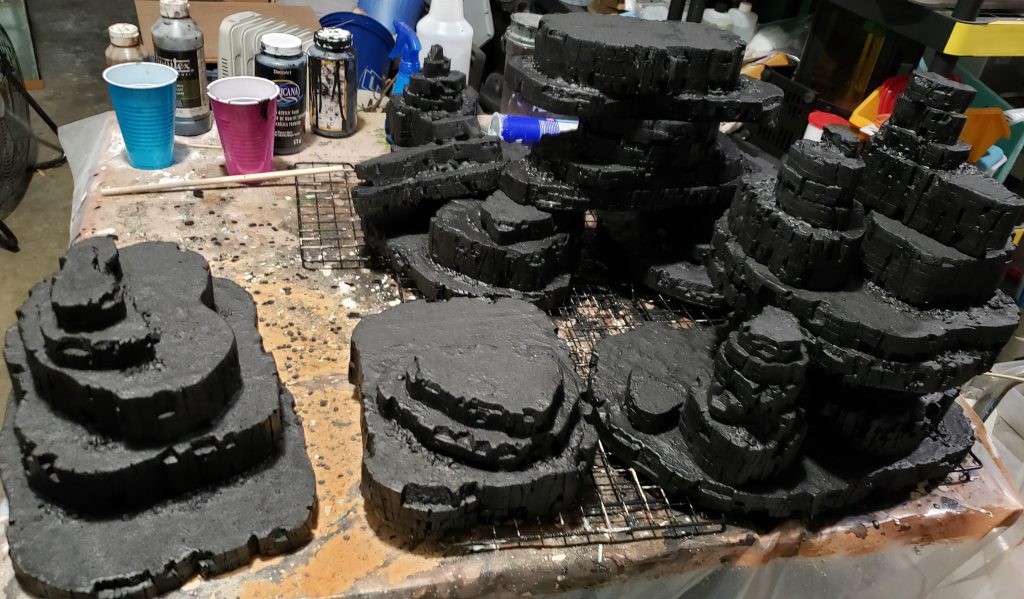
In retrospect I probably should have found some sand with less uniformity of grain sizes than the very fine playground sand I used. One of the ways I differed from Wyloch’s build was to try to use a black-and-mod-podge base coat for added durability instead of just black paint. (Since I was low on mod podge and needed to mix more of the base coat, it ended up being largely a mix of PVA, acrylic varnish, and paint instead.) Where it soaked into the sand this ended up being more thick and rubbery than I’d expected (my home-brew concoction may have contibuted to this result). This didn’t look bad, exactly, but as I would discover when it came time for the dry-brushing, it ended up muting a lot of the texture of the sand.
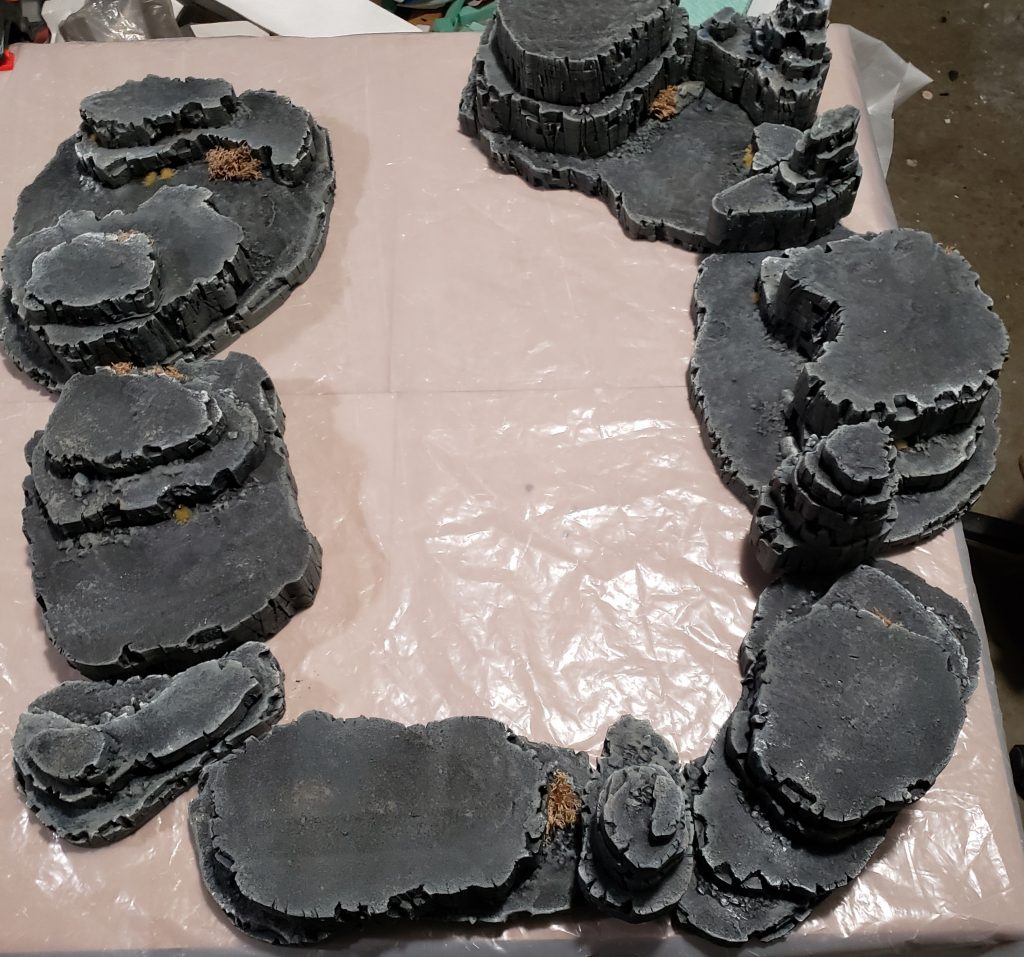
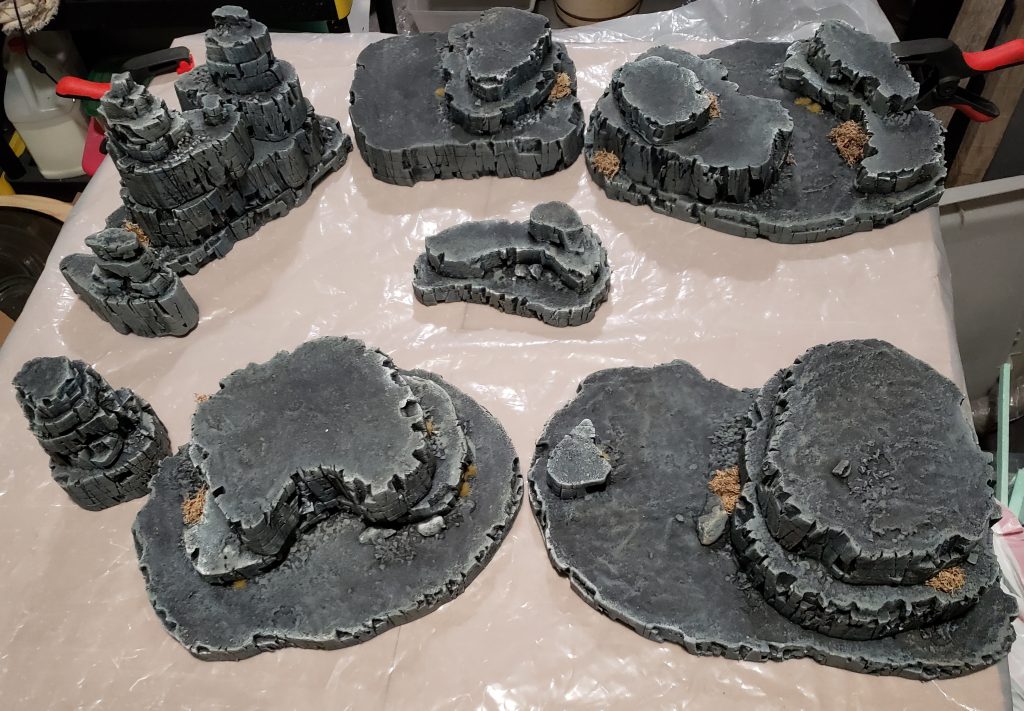
I dribbled some browns and blues down the sides of some the rocks before a fairly heavy dry-brush of a medium gray was applied. A few splotches of thinned brown wash were added in a couple of spots on the flat areas, and a lighter grey brushing highlighted the edges. The blues and browns don’t show up well in the photos below but they serve to subtly change the shading of the rock here and there.
The only embellishment I added was to use PVA to glue on a light smattering of dead grass tufts and a few bits of dollar-store brown moss to represent plants struggling to survive in the corners where moisture might linger.
The flat top surfaces ended up a little darker and smoother than I expected due to the combination of the sand I used and the coating I gave it. My table is occupied with another project right now, but when it’s free again I’m considering re-brushing those areas with more browns and/or sprinkling on a little much-more-varied beach sand I brought home recently. But for now I’ve still got some very usable terrain pieces that will work in a variety of scenarios.
