So the exciting news around here recently is the tornado that strolled through my back yard during Isaias last week. We were lucky in only having some shingle damage and a small amount of buckling in our roof, along with a cracked window; some neighbors took much more roof damage, one house lost all its front siding, and several lost whole sections of outer walls. No one in the neighborhood was hurt, though, fortunately.
I haven’t been posting much lately but I’ve been working on a number of ongoing craft projects, of which this is probably the lengthiest and most complicated… not to mention the one for which I waited the longest for a tool to arrive.
I’ve been wanting to try my hand at doing something that leaned a little less to the gaming-table-ready side of the hobby and into a little more realism. I came up with an idea to build a two-tiered diorama that fit on the top of a bookshelf where I store a lot of my gaming books and minis. I wanted it to fill the full shelf space, so I would be limited on the shape of it, but I’d be able to play around with some more leopard-spotting painting techniques (first attempt here) and maybe try my hand at a resin pour and waterfall. I wavered back and forth about whether to put some trees on it, but ultimately it needed to provide space for minis – likely some large ones like dragons – to be displayed on it, and trees would look great but get in the way.
I started off by cutting a piece of ePVC to fit the size of the shelf that would hold the display I was building. I cut a slice of 1/2″ thick XPS foam, then another about half the width of the first but from thicker foam. I glued them on as two tiers, with a little of the ePVC still poking out in front as a small third tier. There wasn’t enough height on the top tier to accommodate some of the plaster rock faces I’d cast, so I added another thinner slice of foam to the top.
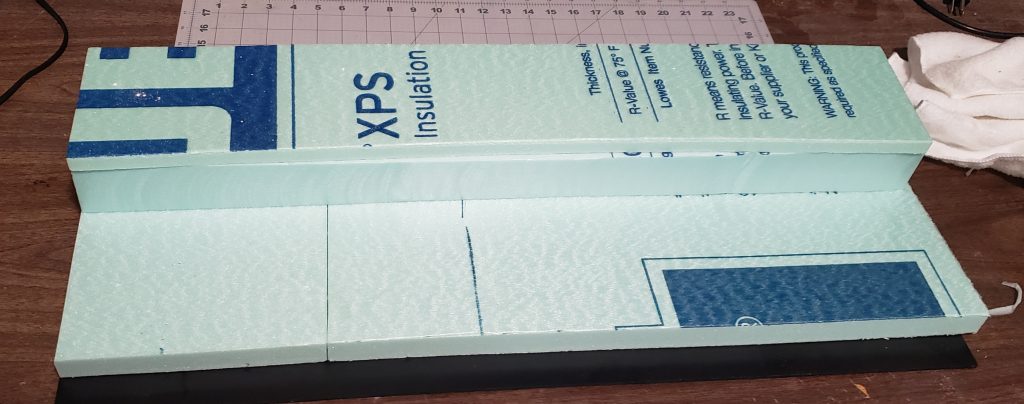
Here I had to decide whether to try to make some gradual curves and slopes or just keep it simple. Visually it would look more natural if there was less evenness to the landscape, but again I let the practicality of having space for standing minis win out and just used a razor knife to round off the corners.

To carve out a spot for a river, I used a heat gun on its low setting to melt indentations – in a very well-ventilated area! – into the center of the piece. This left an odd criss-crossing pattern which I initially started to try to pry out, but realized it might look good under the eventual water.
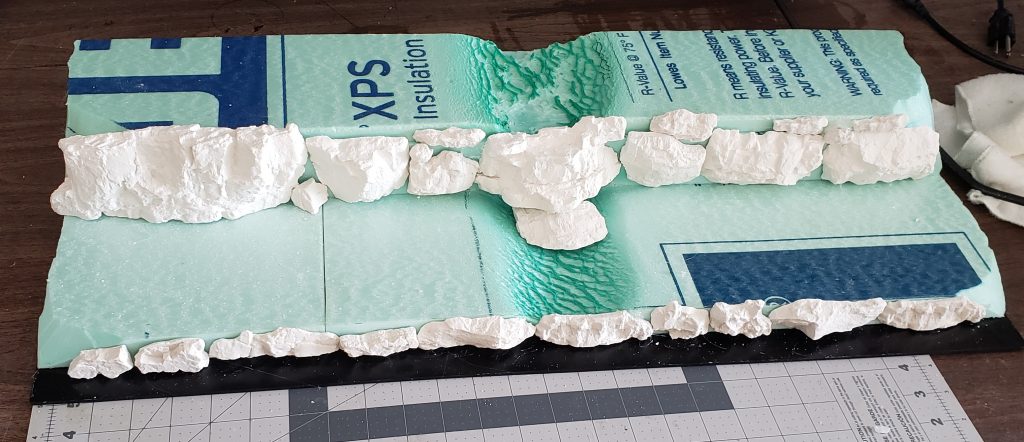
I’d made a bunch of plaster rocks using Woodland Scenics molds – this one and this one in particular (paid links) – so now I started playing with how to arrange them to create cliffs on both tiers. I tired to fill as much of the front-facing spaces as I could, and made an effort not to have copies of the same piece laying in the same direction too often so it wouldn’t look repetitive. They were hot-glued in place once I was satisfied.
Next – and this is one of the places where I got so wrapped up in the actual process that I completely forgot to take any photos – I started making batches of plaster of paris mixed with shredded dollar-store toilet paper as a home-brew version of Sculpt-a-mold. I smeared this over all the foam surfaces except the back and sides, smoothing it on top with a little water as it started to set and using a toothpick and the back of a razor knife to try to etch in lines that matched the formations on the rocky sections.
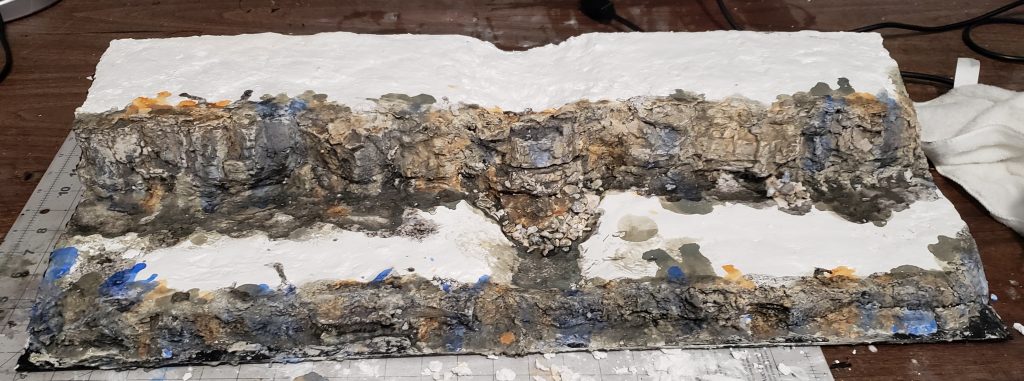
Once the muck was dry, I mixed some very watery blue and ocher almost-washes and randomly splotched them around the cliff surfaces, letting the paint flow where it wanted as it dribbled its way downward. An all-over brown wash followed that, and then a black wash. I realized as this dried that I’d forgotten pictures, so I took one.
The tops of each tier were painted with brown craft paint:
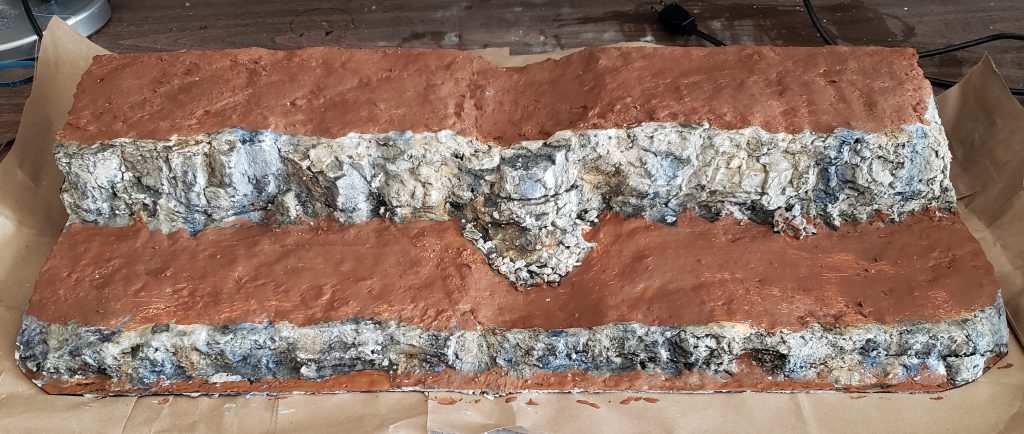
… and I covered that with PVA glue and spread my dirt-and-grout mix on it, then let it dry overnight.
Time to pour some resin! I got the 2-part clear stuff from the local hobby store, mixed it in equal parts according the instructions. I wanted it to be a little murky, not completely transparent, so I stirred in a drop or two of brown and green ink. The resulting liquid looked to be about what i wanted in the cup, but once it dried the color was barely noticeable.
So, first lesson: next time I try a colored resin pour, make the liquid slightly darker than I want the ultimate result to be.
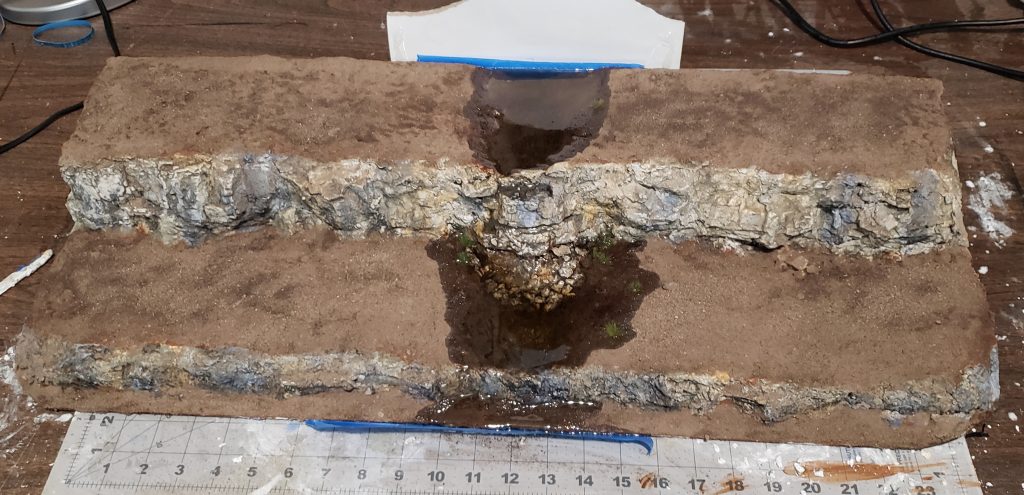
I hot-glued and taped a piece of cardboard to the back section to stop the resin from dripping down. The rocks in front of the river section made a little bit of a natural barrier and I wanted the resin to trickle over them a little to give a naturally-flowing wet look, so I just put a piece of tape across the bottom front to protect my table and hoped to be able to control my pour well enough not to make a mess.
It didn’t make a huge mess, but I think I poured a little too much. I also think the rocky outcropping that the “water” was to cascade down naturally spread some of the resin outside the width of the river trough I’d created. Finally, the edges of the indentations were probably a little too gradual. The end result was a river with some broad, poorly-defined areas of shallows all around them. This would be great for a swampy scene, but that wasn’t what I was after here.
Lessons two and three, then, would be: I need to define my rivers better if I don’t want bogs, and multiple small resin pours are probably better than one big one for judging how much to use.
I did add a few bits of clump foliage into the shallow areas while the resin was still wet, and I ended up gluing a little more grout to the wet-looking edges to trim them down a little.
At this point I settled comfortably back into “forget the pictures” mode.
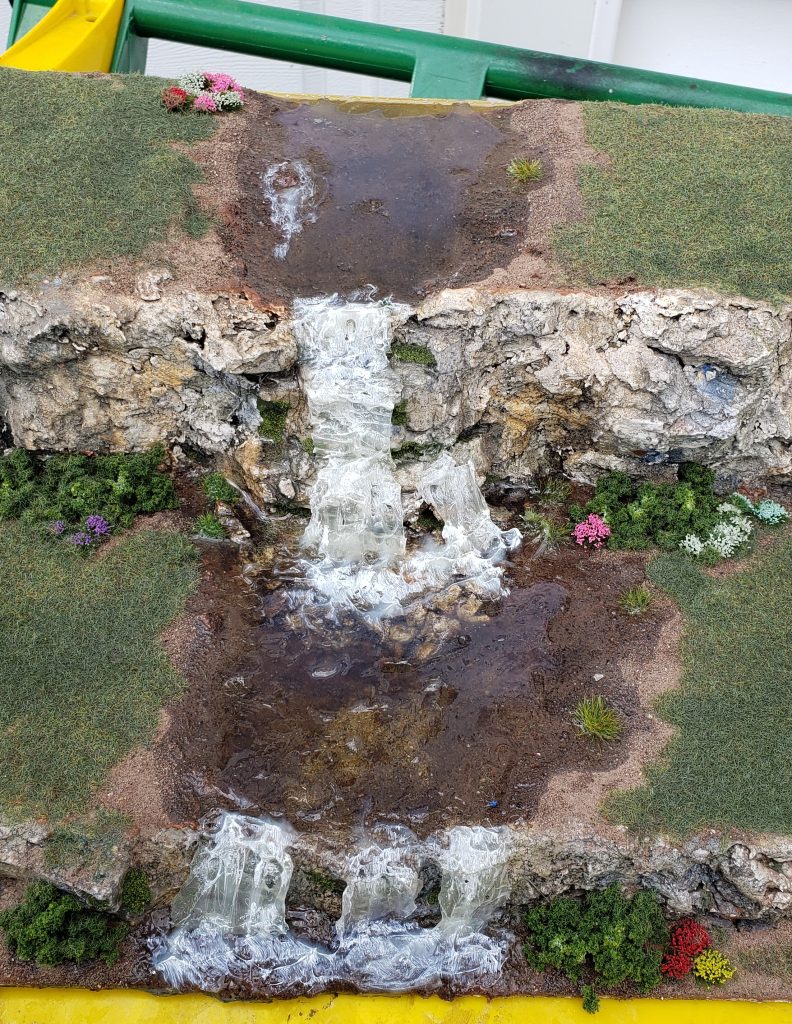
Waterfalls were made by drawing some lines on parchment paper with Vallejo Still Water (paid link) and smearing them flat (ish) with a popsicle stick. Once dried, they were peeled off, cut to size, and attached with some more Still Water, which was also used to add a bit of ripple texture to the water’s surface. I had a tube of clear gloss gel medium I’d picked up on clearance locally, which held its shape better than the still water, so I used a little of that to make some splashes at the bases of the falls. The water was finished off with a light dry-brushing of white in a few spots the I felt should look turbulent.
Flocking would be the final step, and should have been quick, but I wanted to go for a little more realistic grass than usual. In pursuit of this I decided to buy a World War Scenics static grass applicator to do the job right. Purchased on Amazon but not on Prime and shipped from the UK, it was ordered in mid June and didn’t get here until late July, so the project just took up space in my garage for over a month. I did add a little more clump foliage and some clusters of flowers, but other than that it sat ignored.
So I was eager to get started when the applicator finally arrived. My plan was to load it with green static grass, spread that over most of the surface, and then load in some dry-looking grass and sprinkle it in a few spots to create some color variation. I smeared PVA across the upper left section, plugged in the battery, flicked the switch, touched the alligator clip to the glued surface, and began to sprinkle, eagerly awaiting the sight of standing grass rising from my diorama.
It didn’t work.
The grass fell over flat on the surface, and no amount of moving the clip or holding the applicator closer to the surface would lift it up. I eventually realized by toggling the power switch a few times that it’s supposed to light up, but it didn’t! It would occasionally flicker for a moment and go out… so it turns out there’s likely a loose connection somewhere.
This discovery was made too late to save the 1/4th of my project where the static grass had already applied. The result didn’t look like I’d hoped, but it didn’t exactly look horrible, so I just continued to coat the rest as I’d done with the first section.
Lesson four: Test your tools before relying on them!
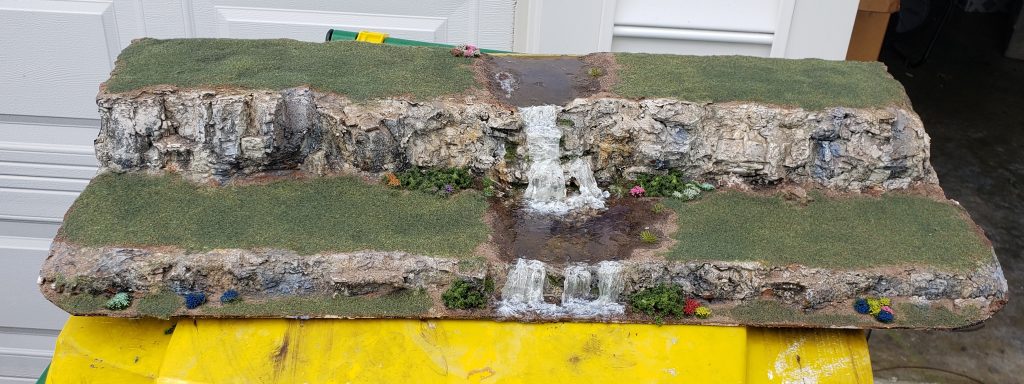
So my bookshelf mini display diorama ended up looking like this:
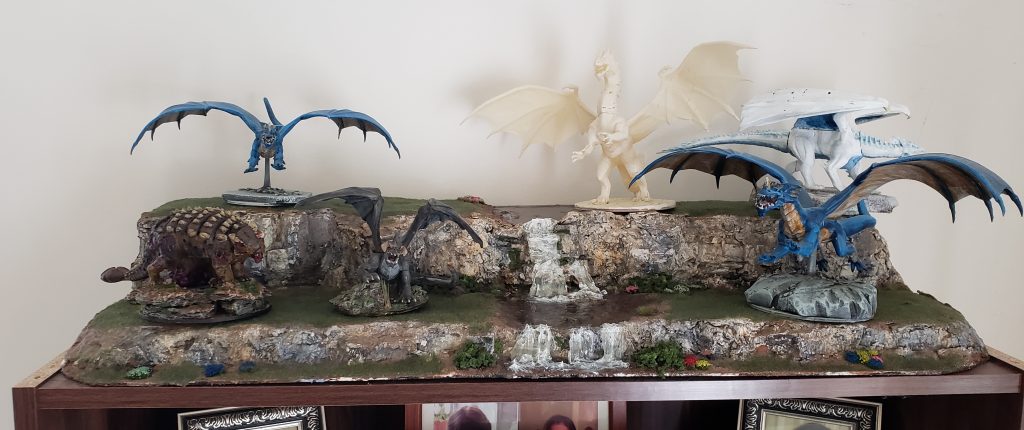
.. and on the shelf, with some sample minis but probably not the ones that will occupy it in the longer term:
Pingback: Simple and generic and I only messed it up a little bit - (Re)Turning (to) the Tables