My gaming remains almost entirely online these days, so crafting projects are sporadic at best. There’s little drive to create terrain and paint minis when there are no concrete plans to actually use them in the near-ish future. But the urge to build something is still there, lurking in the background, and on occasion I’m able to work in a project or two.
While my latest isn’t really for gaming, it’s something I’ve had swirling around in my head ever since I saw a 3D printable mash-up of the Hulkbuster Iron Man armor with R2D2 a few years back. I’d been wanting to put my poor, neglected 3D printer to use again, and something somewhere jogged my memory of this particular sculpt – so I decided to finally do something with it.
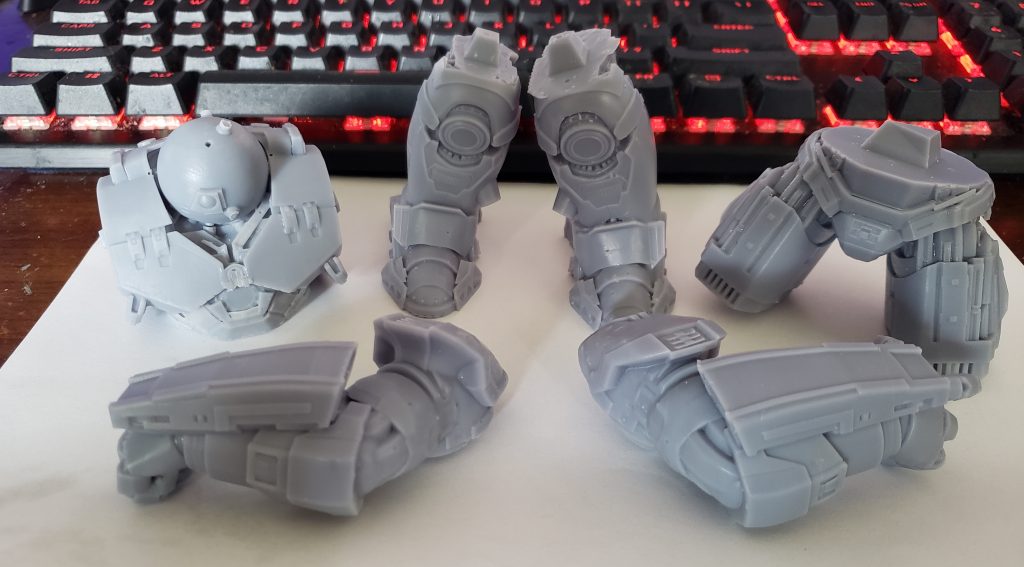
The STL files for it were scaled for a larger format printer, and anyway I didn’t want something 12 or so inches tall when it was done, so I scaled the pieces down by 40% for the print. The unfortunate side effect of this was that because the various insets that mark the panels on R2’s head were shallowly sculpted on the original, they were mostly erased by the downsizing – so I would have to figure out how to approximate those panels with just paint.
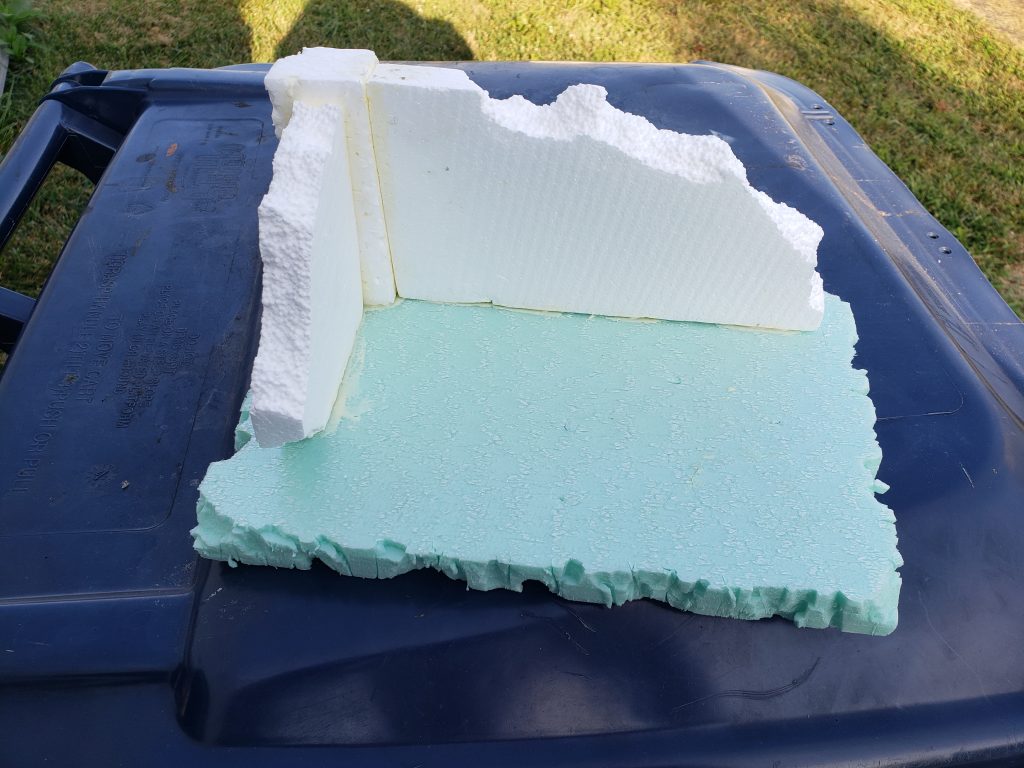
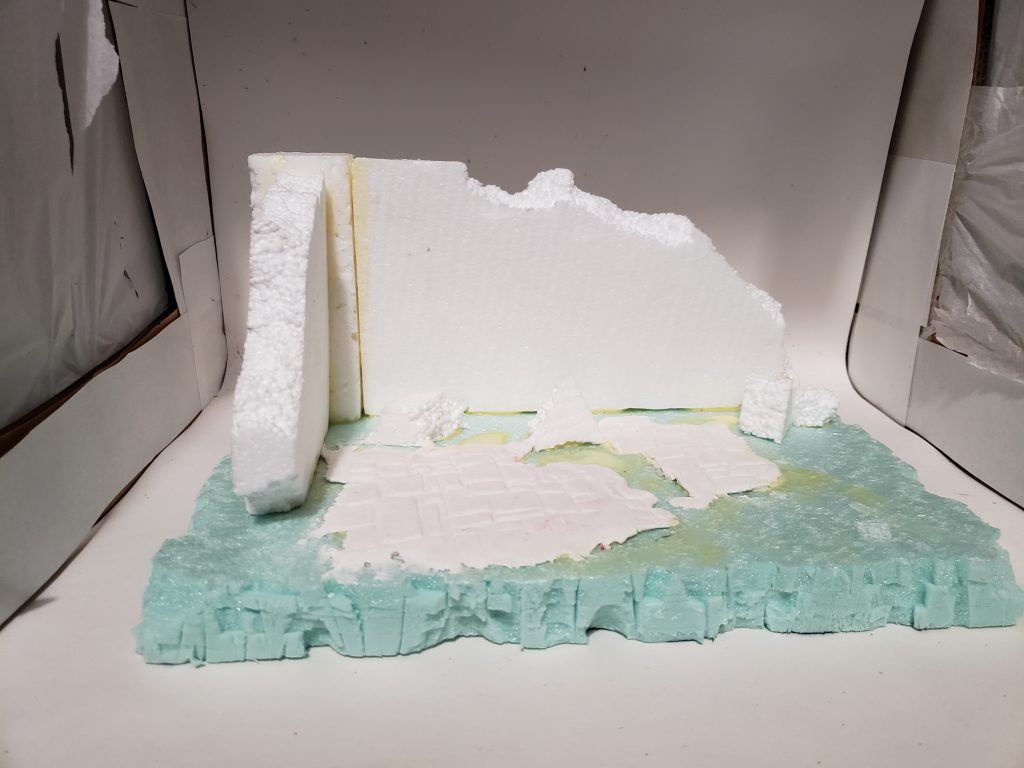
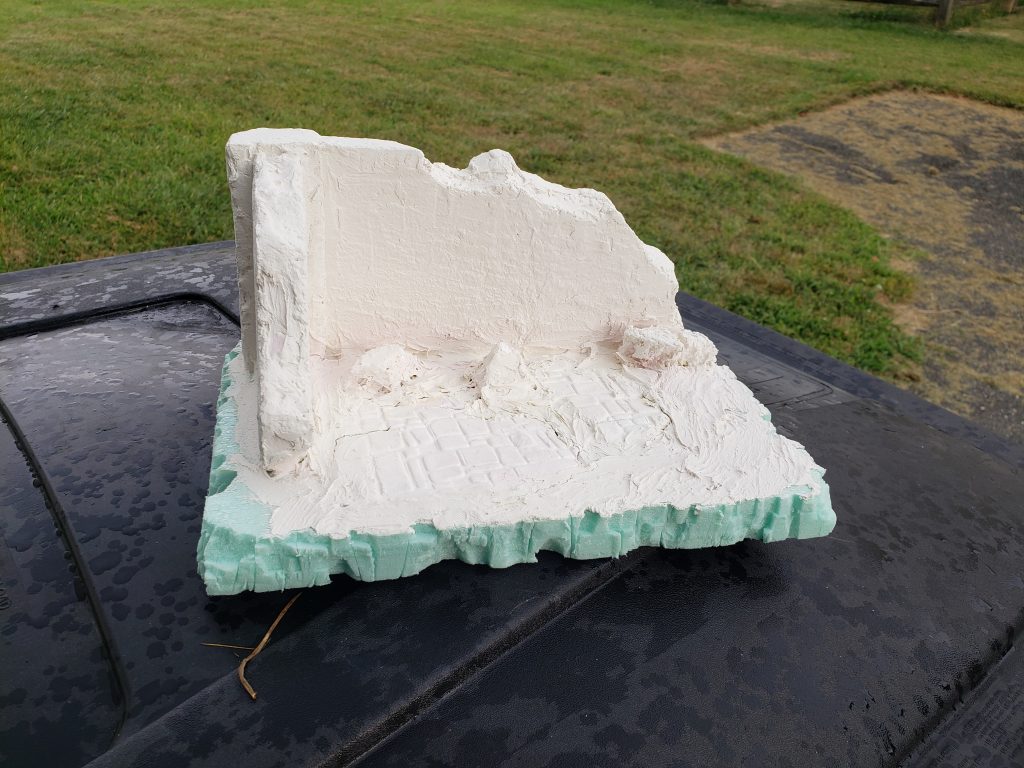
I printed the parts of the lower half first so I could stick them together for scale and positioning to start on thinking about an actual diorama to build around HB-D2. I decided our seriously-upgraded astromech might want to revisit Tatooine to have a chat with some Jawas to address his concerns about their droid treatment policies. A bit of time with some XPS, styrofoam, toothpicks, and wood glue – breaking some bits apart by hand and rough-cutting some edges with a hobby knife – resulted in the basic framework of some ruins in the desert. I decided the former building once had a nice tiled floor, so I used a texture roller on some air-dry clay and glued patches of it to the diorama’s surface. Then I smeared some spackling compound all over the walls to give them a texture that didn’t look like styrofoam, letting it dry for a few minutes and then patting the surface with a damp sponge. I gave the floor a coating as well, in varying thicknesses and minus the sponge technique. I didn’t worry about the cracks and swirls on the floor areas since the material there was mostly to create varied elevations and would be covered later.
The R2 parts assembled pretty easily with only a little bit of sanding required to get them to mesh together well. To fill in the lines between the segments, I decided to try using UV resin, then sanding for smoothness. This turned out to be surprisingly difficult, in part because of some of the angles involved… but also because I seemed to be having a really hard time getting everything evened out, especially on the very visible area across where the chest and lower body connect. Eventually I decided that what I had would have to be good enough, and maybe I could put a dark blaster-burn mark across the area to cover it.
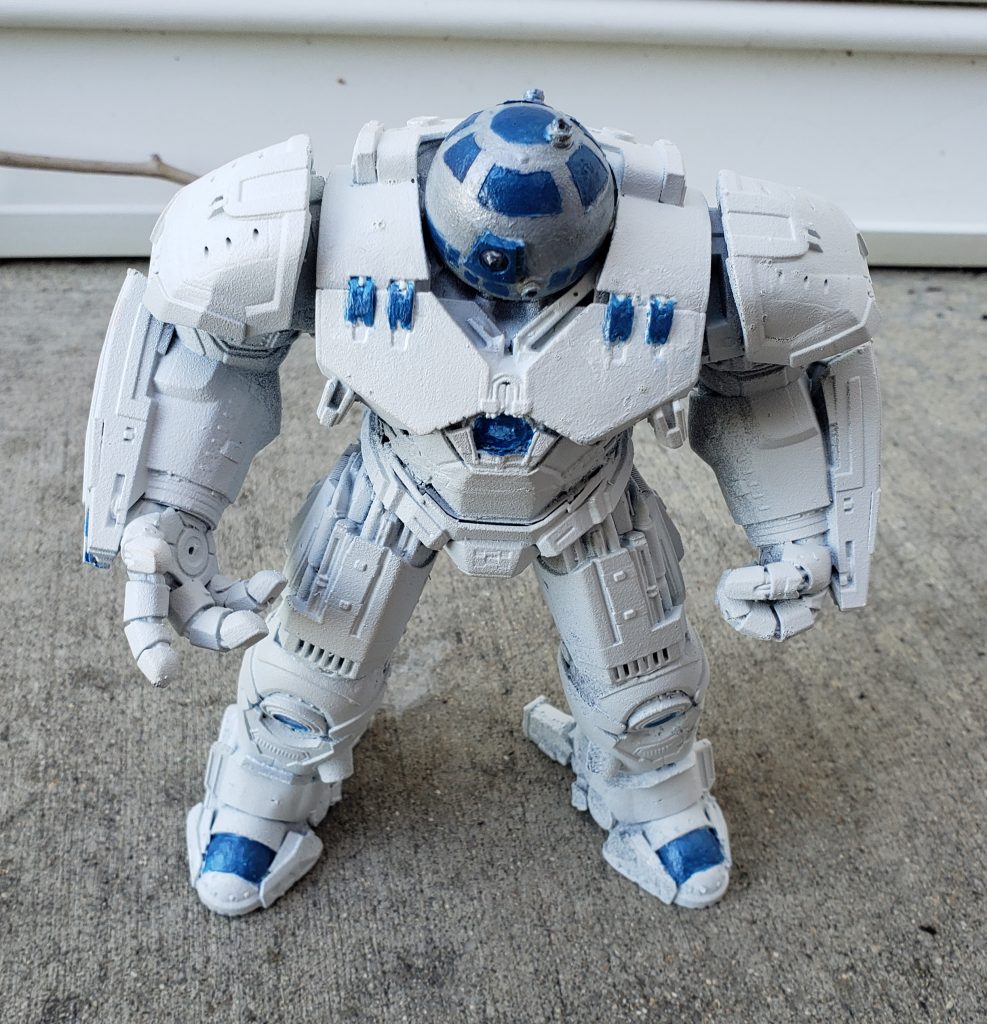
Painting the assembled character started simple – just some hardware-store matte white paint+primer spray. To try to paint those panels I mentioned above, I invested in some of that Tamiya masking tape I frequently see scale modelers recommend, plus a blob of Silly Putty to mask off a round-ish area. My attempt to paint the upper ring of Artoo’s head started out looking something like this:
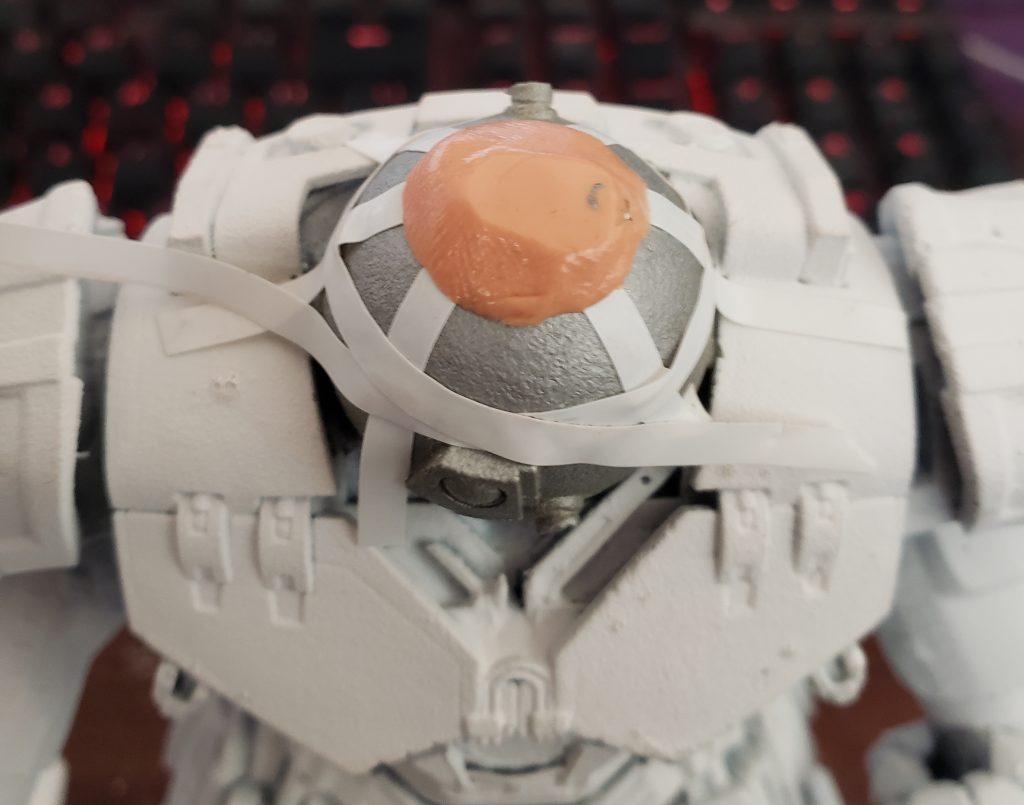
(Yes, I did smooth out the tape and trim the edges of the putty around a bottle-cap after this picture was taken. No, I don’t know why the metallic paint on the head looks so lumpy in this picture – it didn’t in person.)
I had some metallic blue paint around but it was a little too brightly colored so I mixed it with a darker blue non-metallic until I liked the results. I painted in the panels, let them dry, and peeled away the masking material – only to find an uneven, sloppy mess and a number of spots where the blue wormed its way under the mask. I ended up doing a surprisingly tolerable job of fixing this freehand, adjusting the size and shape of each section by applying either the blue or the original metallic color where needed. Encouraged by my unexpected success with this method, I free-handed the panels lower on his head as well. The overall results weren’t perfect and certainly wouldn’t win any painting contest, bit were… tolerable when not up too close.
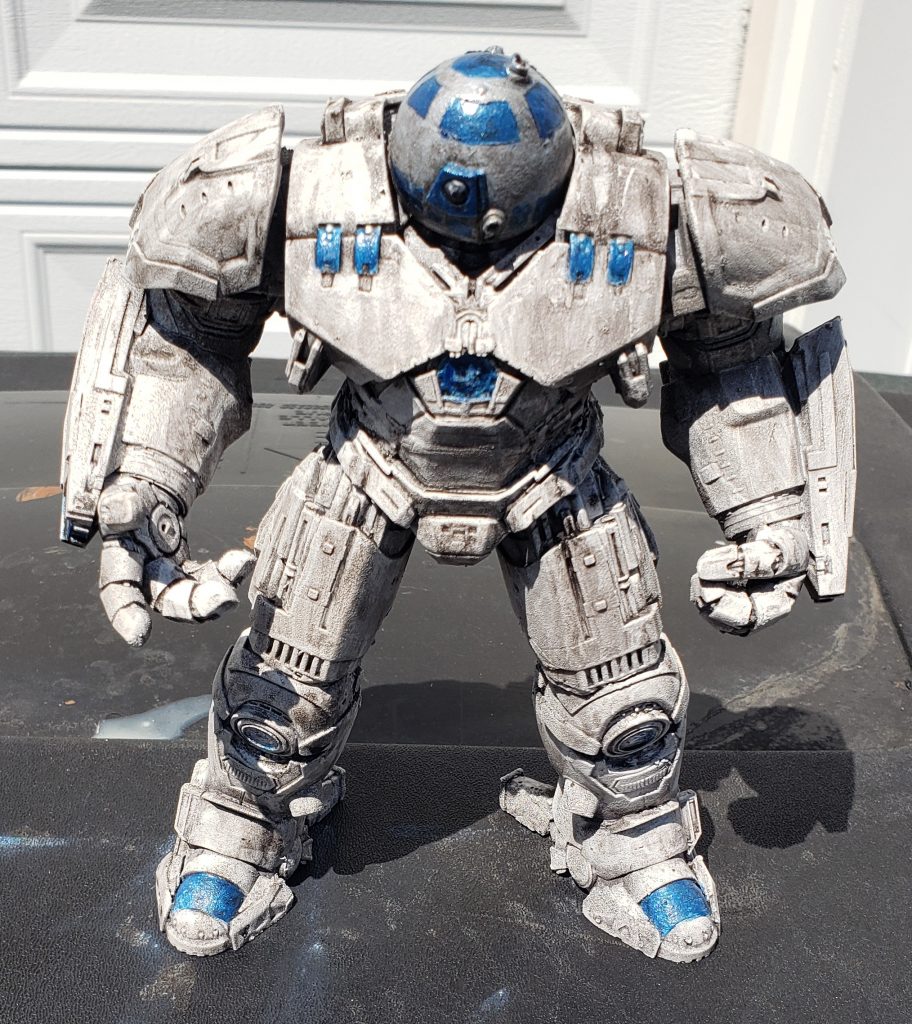
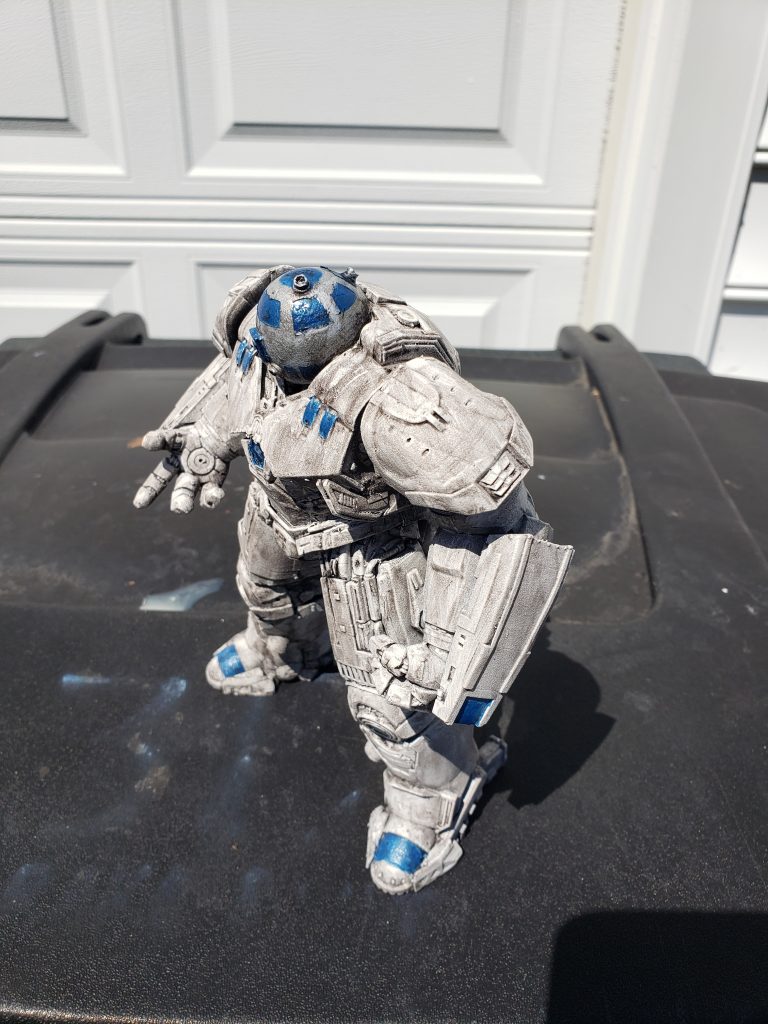
Once I’d applied metallic blue to all the spots I wanted to color, I decided to try an all-the-rage-these-days oil wash to make my droid look well-travelled and much in need of, well… washing. The idea was to apply the wash and use sponges dipped in mineral spirits to clean it off across some of the larger flat surfaces, and I thought I’d have plenty of time to do the wiping-down due to the relatively slow dry time of oils. Some interruptions happened that kept me away from the project for an hour or so, and when I came back the wash was already dry enough to limit how much I could wipe off without using a fair amount of pressure (and potentially damaging the paint underneath), so R2 turned out grimier than planned.
Back to the terrain, I painted the walls and debris tan and the ground brown. Individual tiles were painted an assortment of colors, and a grout-and-sand mix was added all around the base for texture and color. Then a bunch of pigment powders were liberally and blotchily dabbed all over the assembly. I wanted a lighter overall coloring than what I was able to achieve – the spray varnish I was using to lock in the powders seemed to darken them a bit when applied. I’m still considering going back in with a light tan drybrush to brighten it up and differentiate the ground from the walls a little more.
After the base was finished and Artoo mounted to it, a little more pigment powder was dusted on to make it clear that this Hulkbuster had been strolling through the desert.
So though (as usual) almost everything came out differently than I’d planned, I’m still (as usual) happy with the end result.
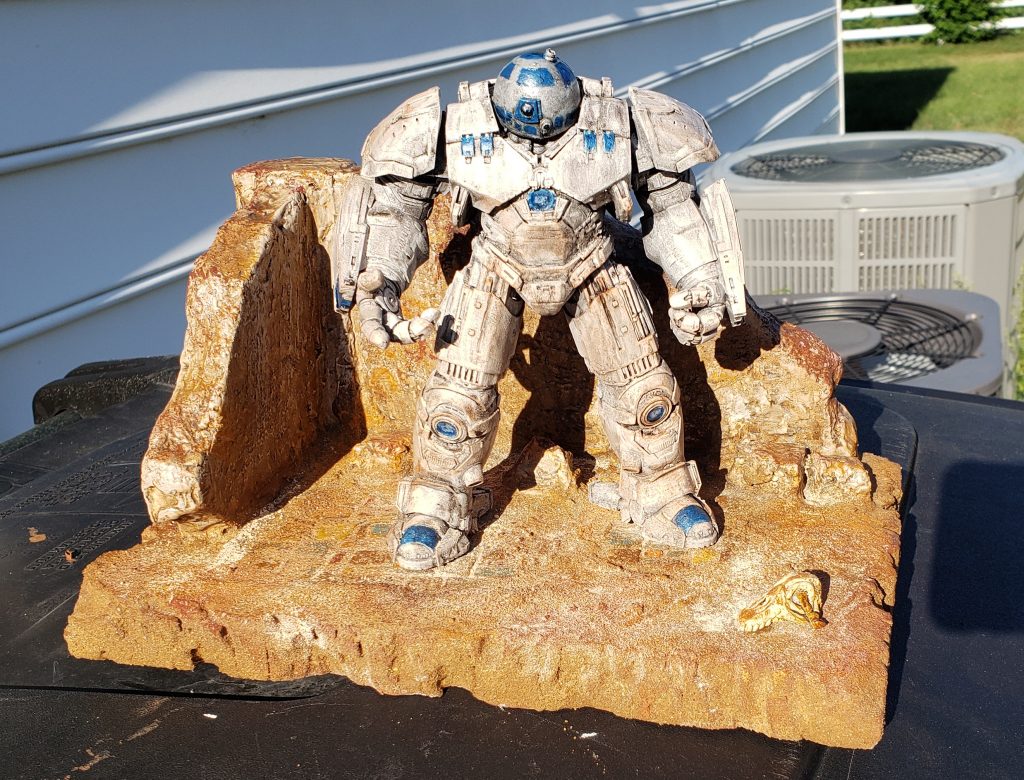
Oh, and the crowning touch was the little Jar-jar skull I found to put there in the foreground.