Over the last week or so, a meme started showing up on D&D related Facebook groups:
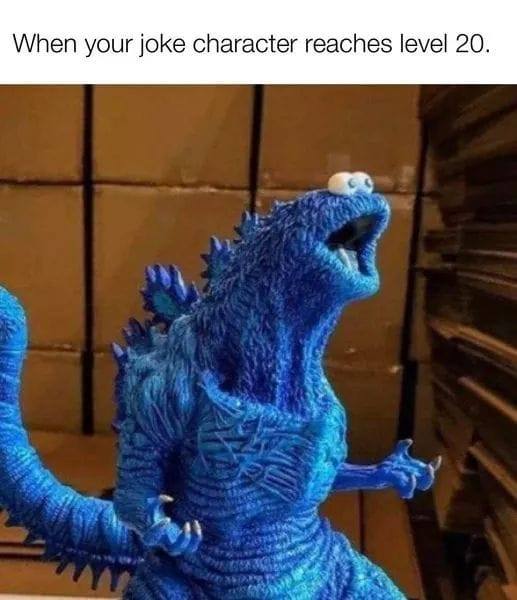
… and I immediately needed to know if this sculpt was available as an STL so I could 3D print one. I didn’t see information on the original sculptor, but I did find that someone had made a close enough approximation (minus the fact that the original had Grover’s head at the end of its tail!)
(Note: I discovered while editing this post that the original sculpt was by Gabriel Marquez and copies are available for purchase with proceeds going to a diabetes charity.)
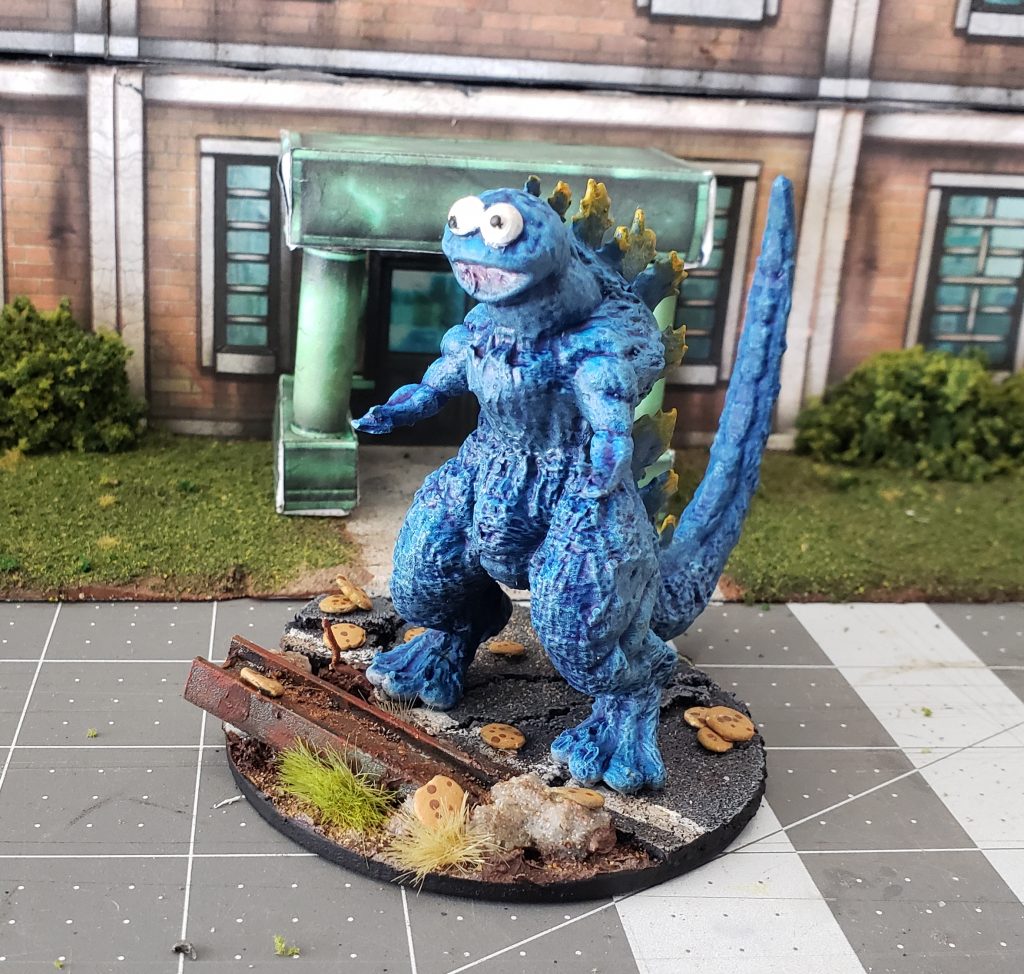
As this mini was printing I decided it would absolutely have to be put to use in one of my games at least once. My Mighty Protectors campaign is heading toward a series of sessions involving Quantum-Leap style parallel-universe hopping, so clearly one of those universes will have to be inhabited by mutant Muppets, where creatures with non-fabric skin are social pariahs.
Non Mini Painter Paints Another Mini
After a spray-can zenithal prime – a base coat of black followed by a spray of gray from above and then a light dusting of white at an even tighter angle from above – I gave it a coat of Talassar Blue contrast paint. When that dried I dry-brushed on a slightly lighter blue shade to highlight the raised areas a little more.
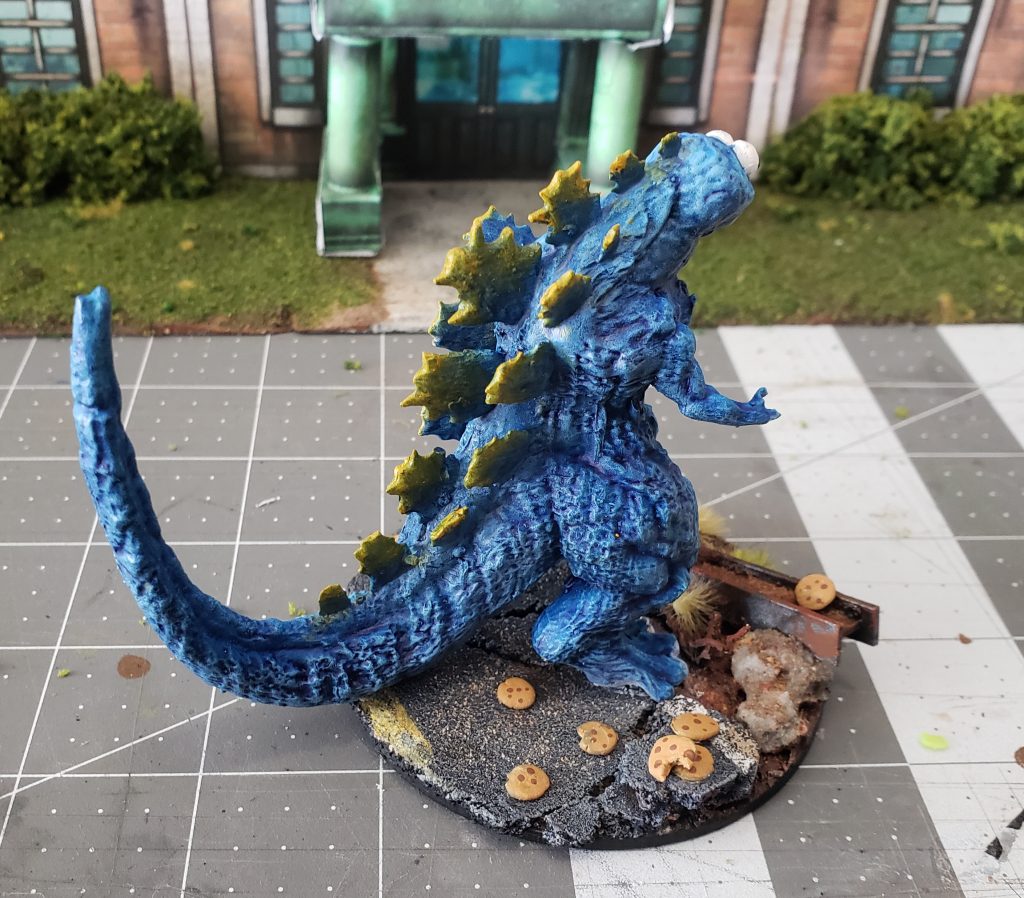
For the ridges that run up its back I tried my hand at some rudimentary wet blending to try to create a gradual fade from dark blue nearest its body to light blue at the edges. The result was a little… murky? Besides sort of blurring the colors together in a slightly blotchy way, it covered up the textured look from the original contrast paint application. In retrospect maybe I should have tried mixing something to a glaze consistency and layered it on slowly.
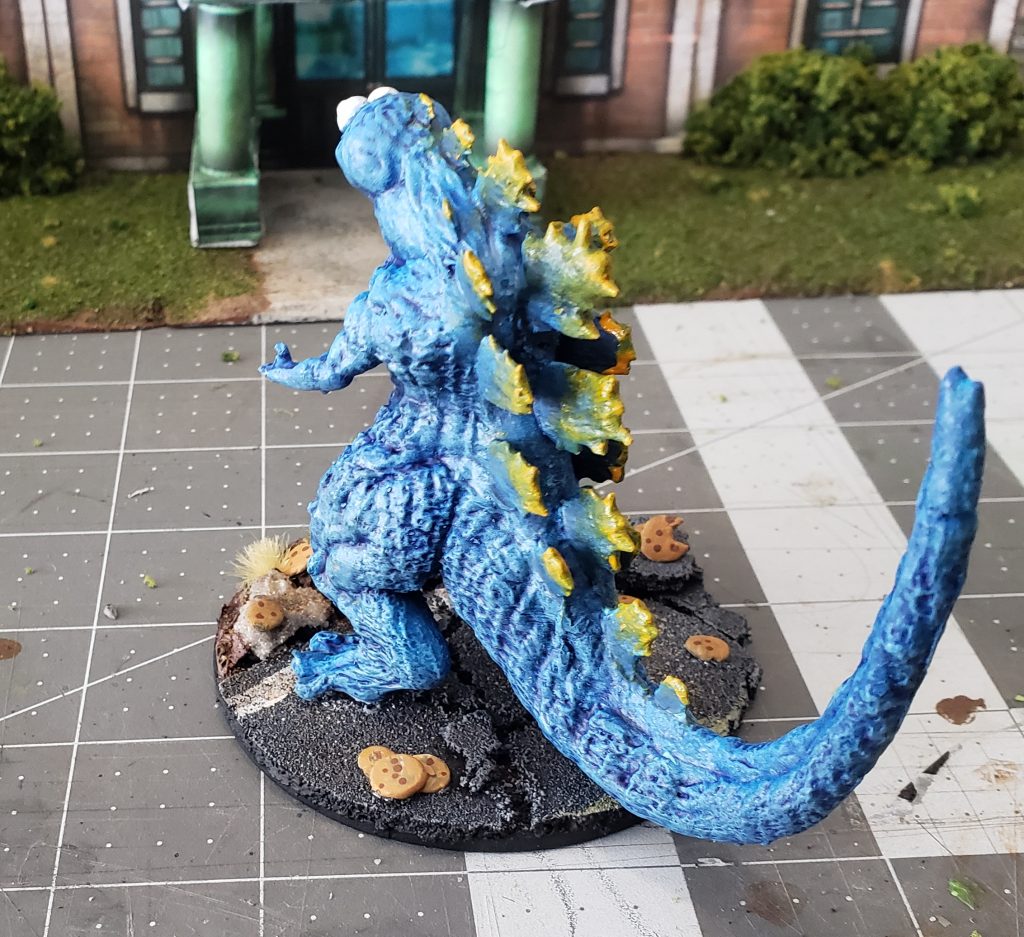
I used a blue wash on the ridges to restore some of the texture look. While that dried I considered the overall look of the piece and decided it needed a little more non-blue color, so once the wash was set I tried a simple dry-brush of a bright orange to highlight the edges of the ridge plates. It turned out the orange wasn’t opaque enough to show up well over the blue so I ended up doing several layers of dry-brushing there to get it to show up well.
The sculpt from the meme has nice claws on both hands and I had planned on doing those in a bone color, but they weren’t very defined on this model so I just left them alone.
It’s time to base the Muppets
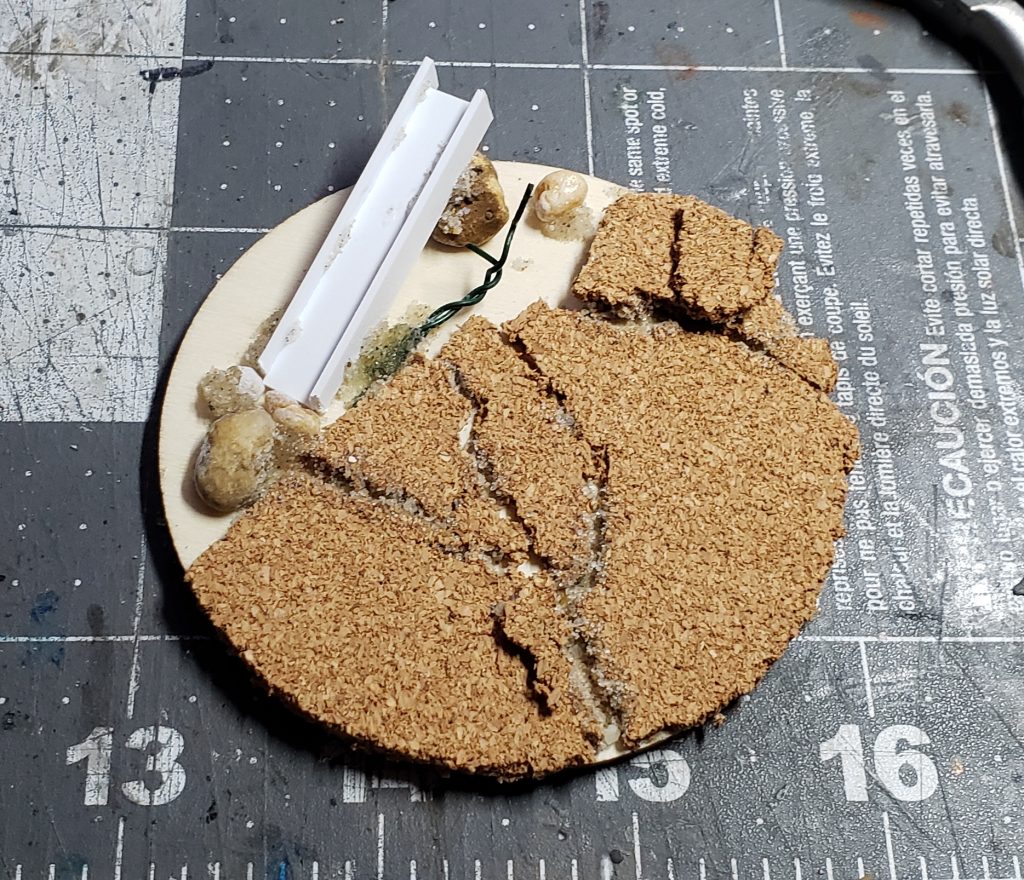
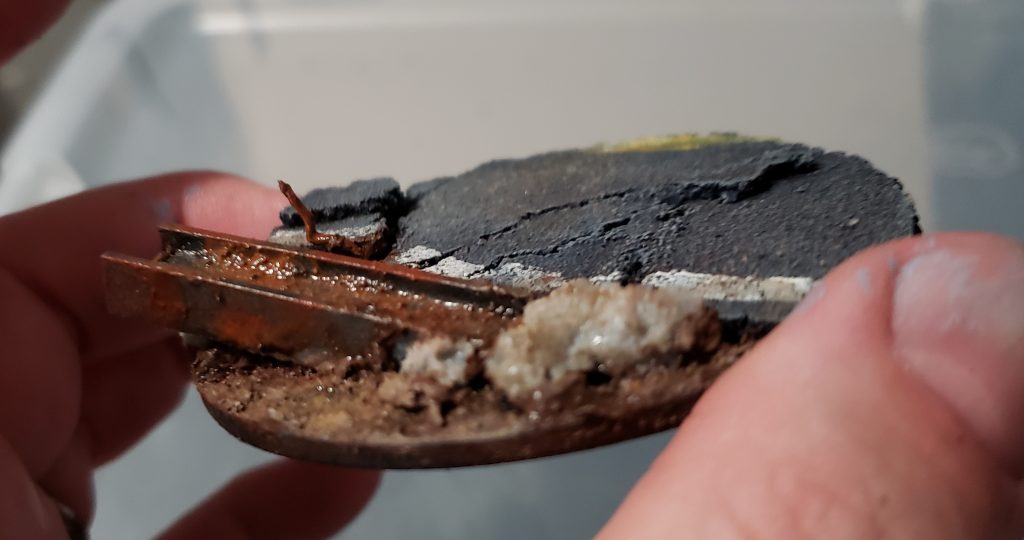
I decided to go for a sort of post-Muppet-apocalypse feel for the mini’s base. Starting from a 3″ wood disc, I glued on some torn bits of cork sheeting to make a broken road surface. I made a girder out of strips of styrene super-glued together, cut an angle off one side of it and glued it down in a position to make it look like it was protruding from the ground. I added a few pebbles, tried to super-glue a little sand in between the cracks in the road, and even twisted up a little piece of wire and glued it down to look like a torn underground power cable of some sort.
The whole assembly was spray-painted black. I used the pavement-colored paint from my city board build on the road surface, then for the road lines I just painted the side of a sliver of foam with some white or yellow craft paint and used it as a stamp. The girder was painted with a gray brushed metallic color and the the wire with a metallic copper.
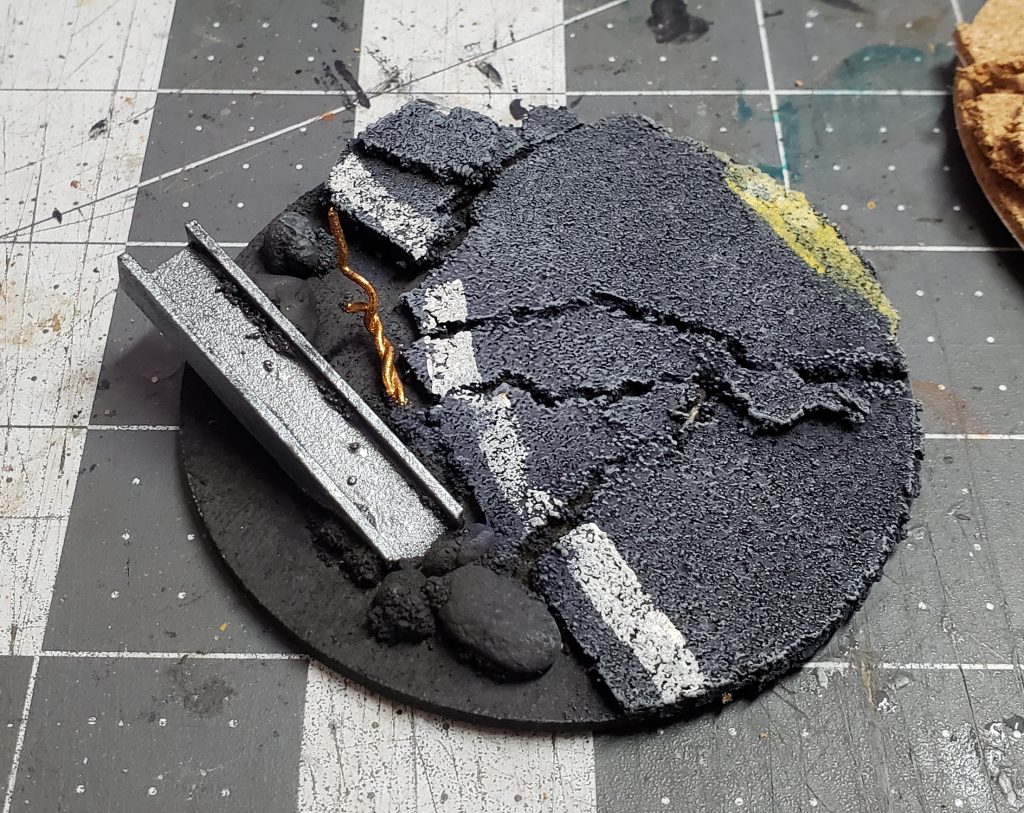
My original plan was to paint the rocks in shades of brown, but I thought those would look too much like natural boulders not so likely to be found in the middle of a city. Also, I had picked up some Vallejo ground textures from a local hobby store I recentIy found out about, and this seemed like a good excuse to try them out.
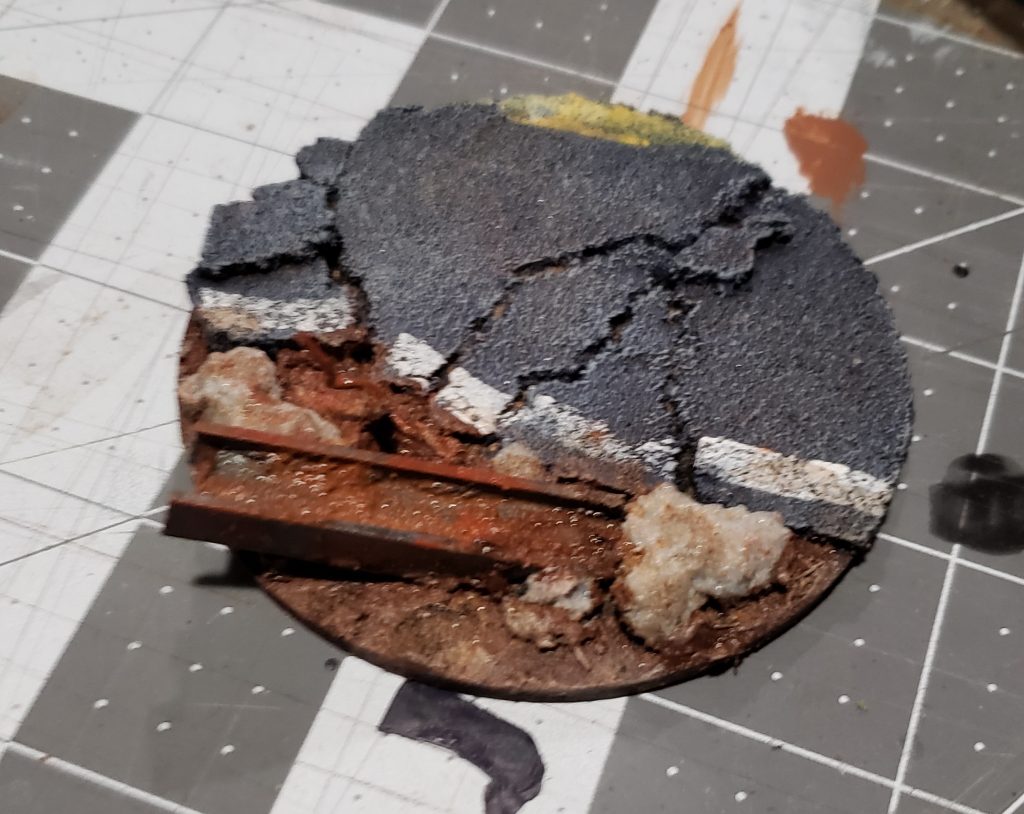
Some Rough Grey Pumice (paid link) was was dabbed onto the stones to create a concrete look. The rest of the exposed wood surface was covered in Brown Mud (paid link) – which really did end up looking like mud, with a wetter look than I’d expected. In fact, I ended up dry-brushing a little light brown over it to make it look a little less wet.

Some brown wash was applied to the exposed metallic surfaces and in a few spots on the rocks and road. Just for a little extra detail, while the wash was still tacky I added a little bit of powdered pigments in brown and orange to give the metal a rustier look, and just a sprinkle here and there of grout-and-sand mix to dirty it up a little more. Can’t have a tidy apocalypse, can we?
Minus a little matte varnish spray that would tone down some of the lingering shine in a few spots, it was time to mount the mini to the base. The resin drain holes I’d put in the bottoms of Cookiezilla’s feet when I set up the print were sized perfectly for sticking super-glue coated paper clips inside, and when the glue on those dried I clipped the protruding pieces short enough to be jammed into my cork road surface. That and some more super glue would hold them together well.
I added a little more color via a few grass tufts and called the project done.
Except…
There was still something missing!
It needed some other little bit of detail. More grass on the dirt areas, or maybe some leaves? What would be appropriate for a giant Cookie Monster?
Hmm.
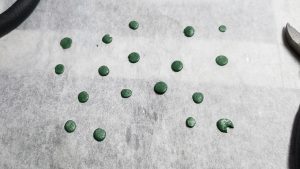
Little bits of Green Stuff were rolled into circles and flattened on a piece of parchment paper, then left to dry for a few hours…
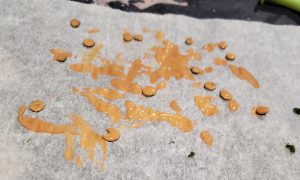
Then mixed in with some slightly watered down golden-brown craft paint and left to dry again…
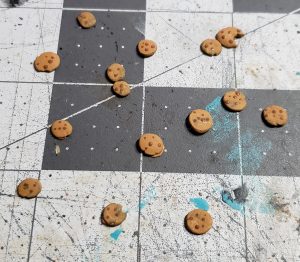
… and my chocolate chip cookies were ready to serve!
Now the project was done!